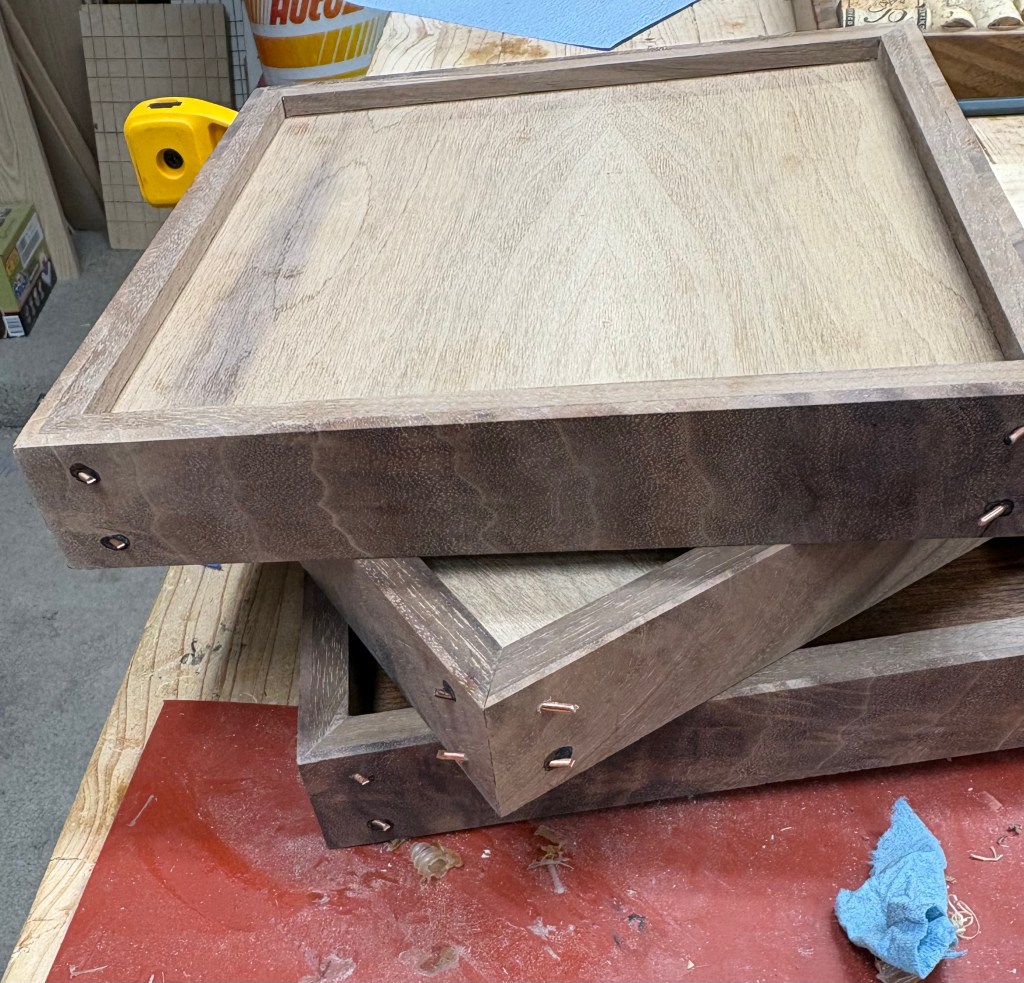
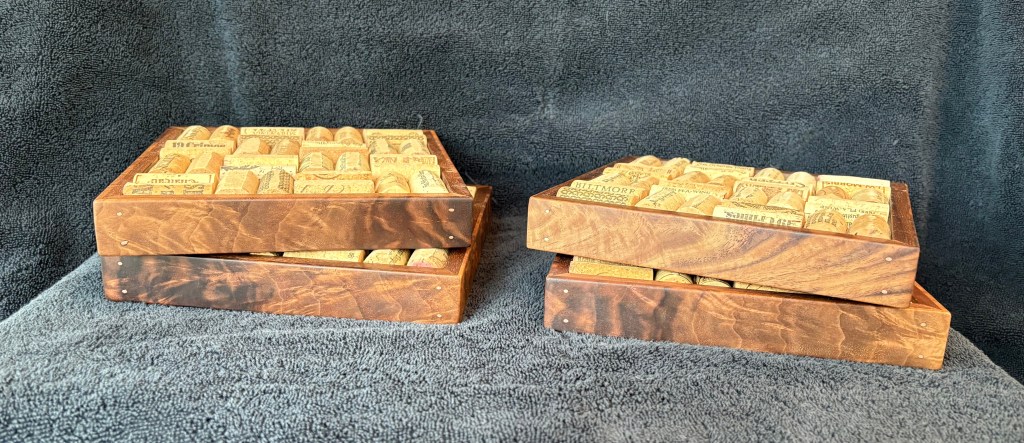
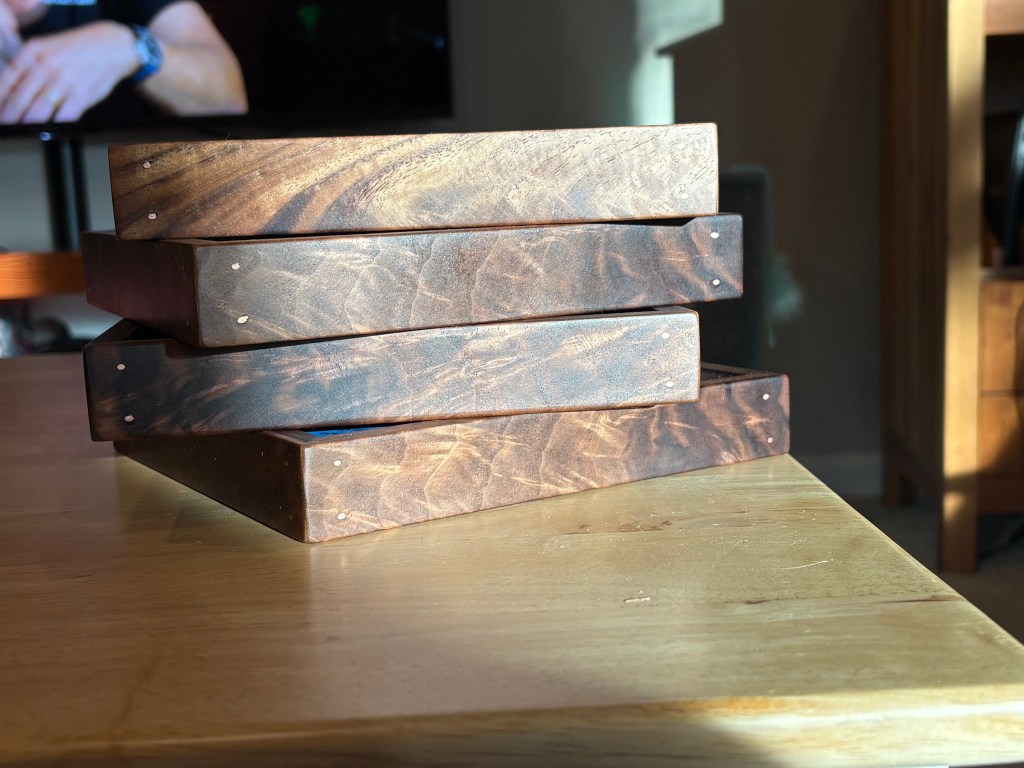
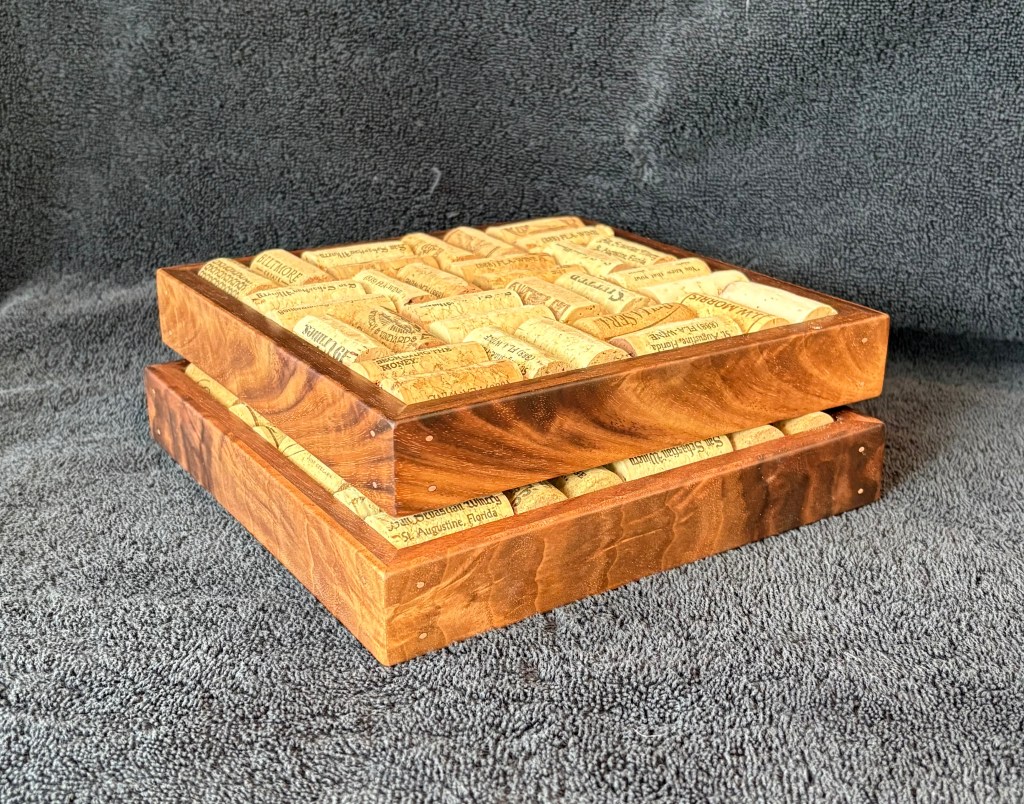
Trivets and picture frames are super easy to make and also give me a good platform to both try new things and hone existing skills. For this set of trivets, I used copper wire at the miters to add a bit of visual interest and hopefully a bit of strength too.
For the woodworking nerds – all the figured walnut came from a single board that was resawn into thinner scales and then glued to a thicker walnut backer. I attempted to book-match them on all four sides.
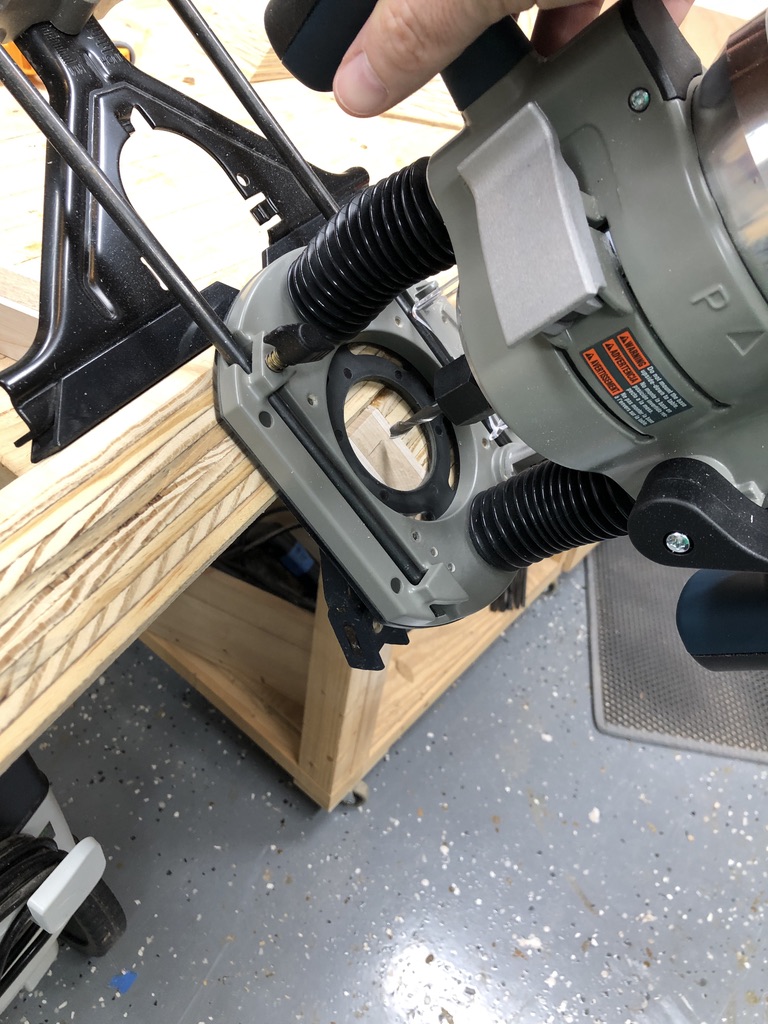
To get the wire to pass through just right I had to make a jig that would drill through at the 45degree angle. That by itself was a project of its own.
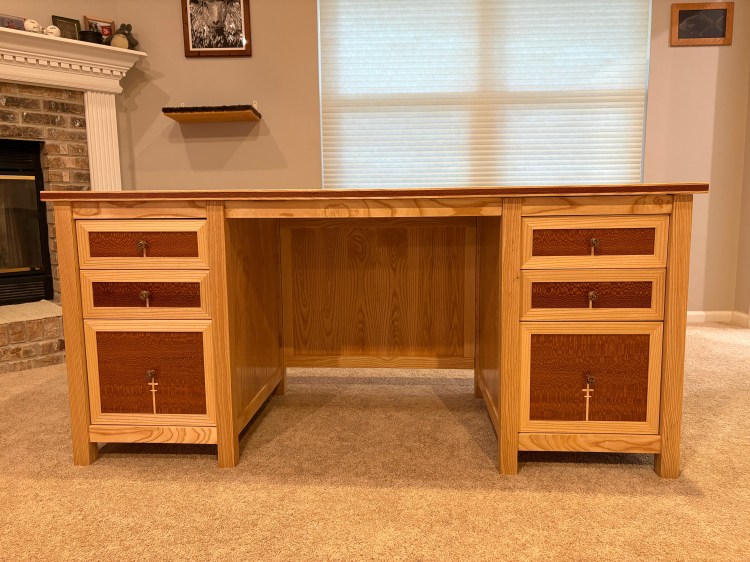
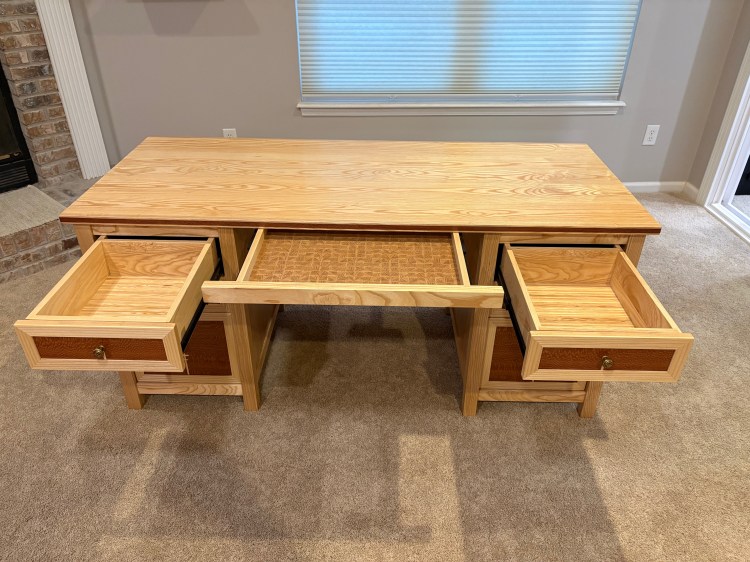
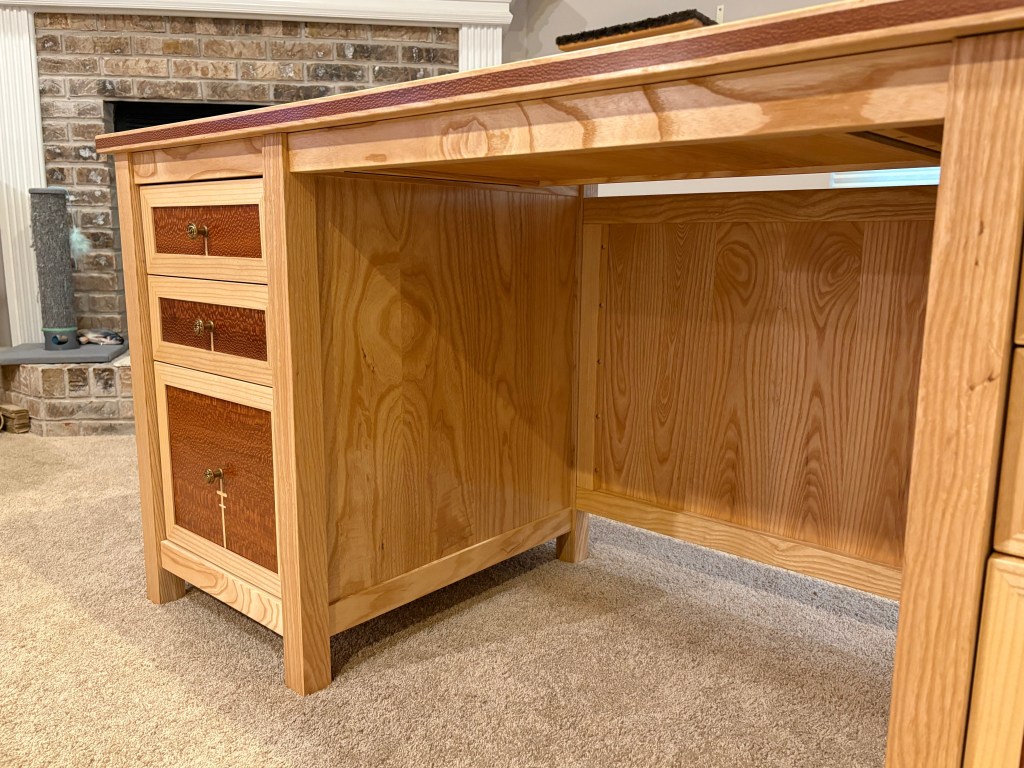
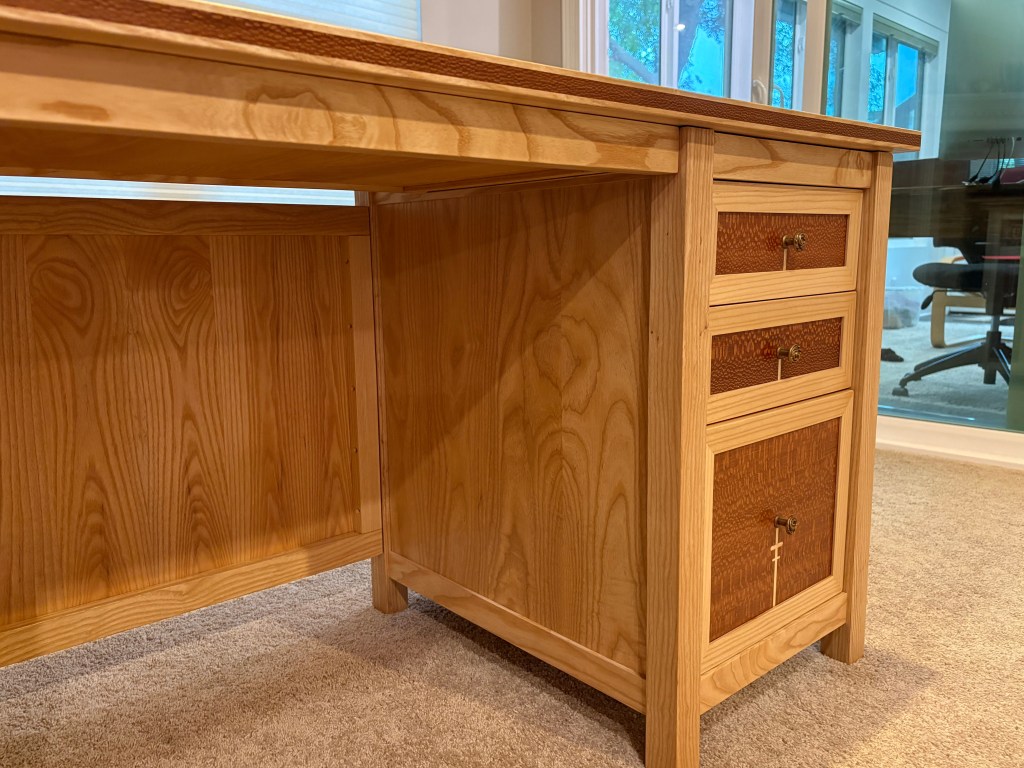
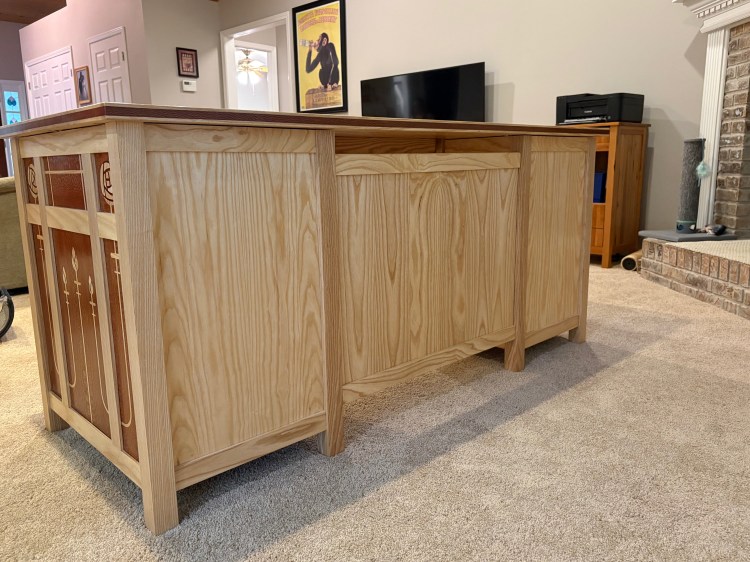
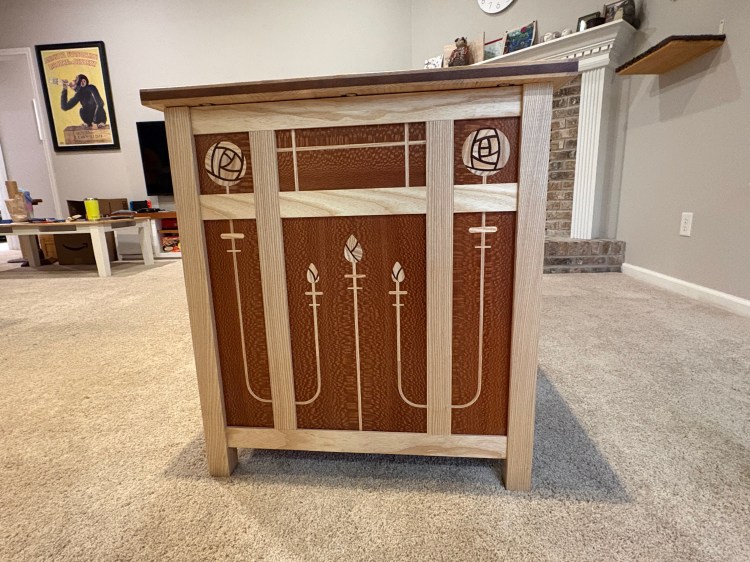
Finally done with the desk! After over one full year, any many “learnings” along the way, it is finally installed in its semi-permanent home. For those interested, details as follows: All flat panels are shop-sawn veneer over 1/4” plywood creating 3/8” final thickness. All details on the Mackintosh inspired sides were done with a router and templates. The roses were done piece by piece using a combination of a bandsaw, and sanders accommodating the convex and concave curves. The middle drawer bottom is a veneer of end grain with pieces sourced from the scraps of the 45 cutoffs from the legs. The rest of the drawer bottoms were from various assorted scraps, then veneered to plywood. For the finish – I used Arm R Seal on all large outward facing surfaces, and then on the inner surfaces Odies Oil- Dark. (Keeps the inside smelling nice vs gasoline-y.)
At the request of the customer, (Ann) the wood used was Ash and Leopard wood. To get the differences in color, I used both face grain and end grain. The finishes used were Arm
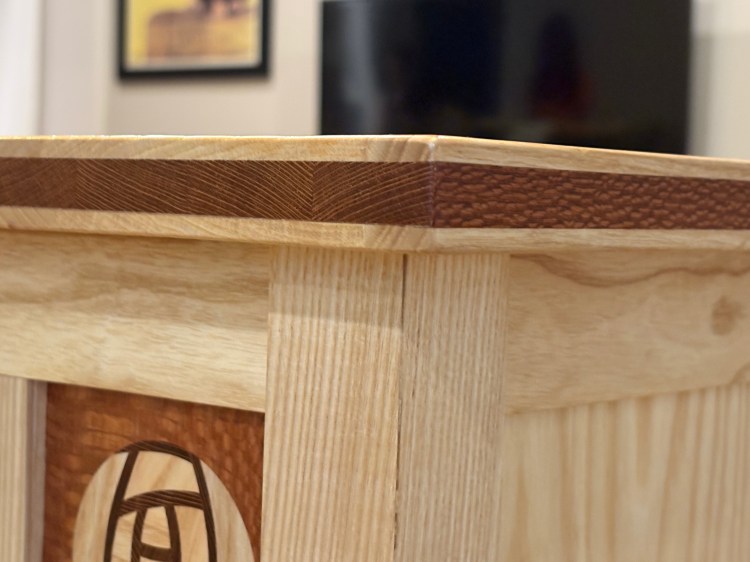
Note the continuous grain across the top, and on the bottom the two pieces there mirror each other. The back panels of the left and right drawers mirror each other to make use of some interesting grain found in the wood. The drawer bottoms make use of thin cutoffs from various stages of the project, and finally the center drawer is end grain veneered over plywood. The end grain came from the cutoffs on the leg pieces which were cut at 45degree angles to have two faces match each other. Note the mirroring of the left and right panels along with the book matching of the back panel. While not as ornate as the front, I paid significant attention to the back too, just in case this desk ever needs to sit in the center of a room vs being pushed up against a wall. Close up of the edge of the side/back of the table top. I routed out a groove for the leapordwood inserts, and on the end, I intentionally switched to end grain to mitigate wood movement issues. The roses were done piece by piece, and each combination of the Leopardwood/Ash took about fifteen to twenty minutes each. The larger panels were done with a router and templates to do the inlay. Also note the intentional switching of grain on the horizontal vs vertical pieces.
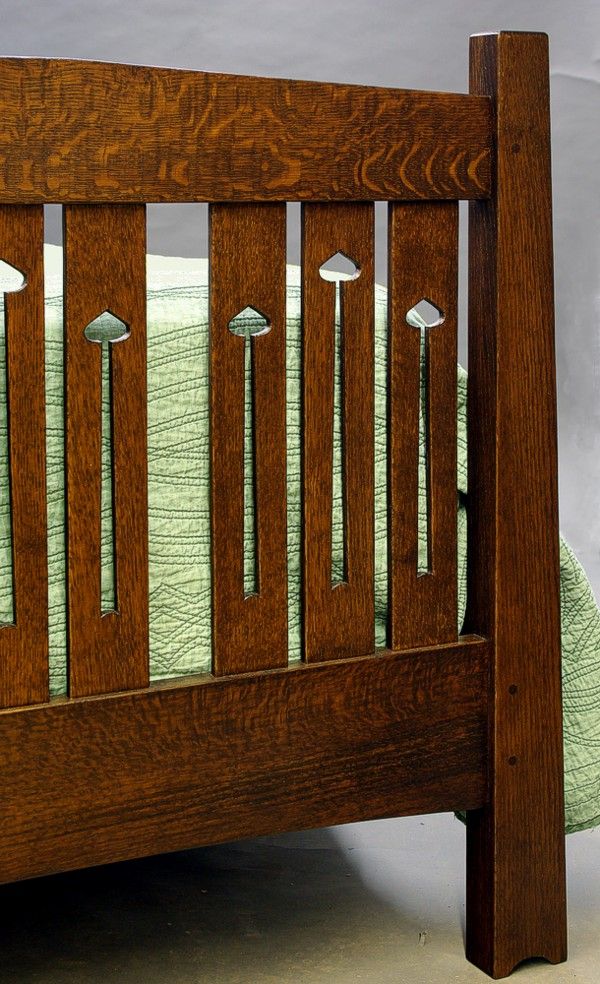
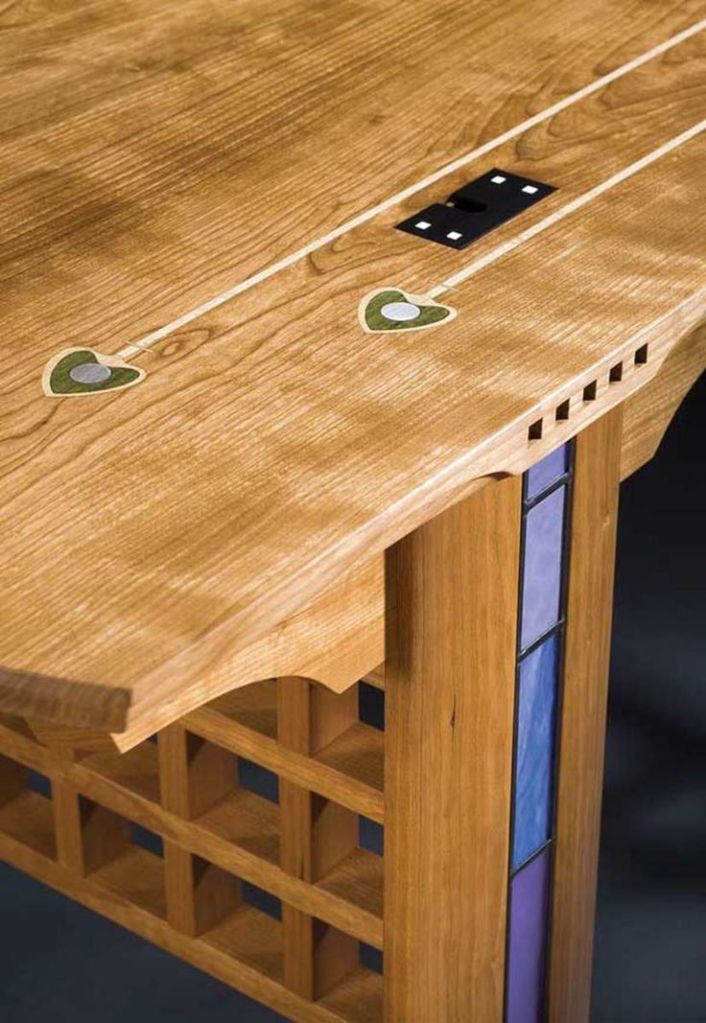
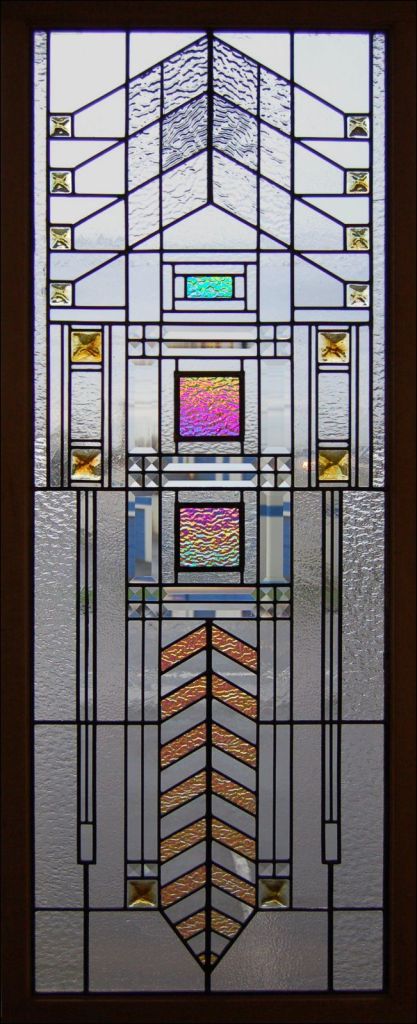
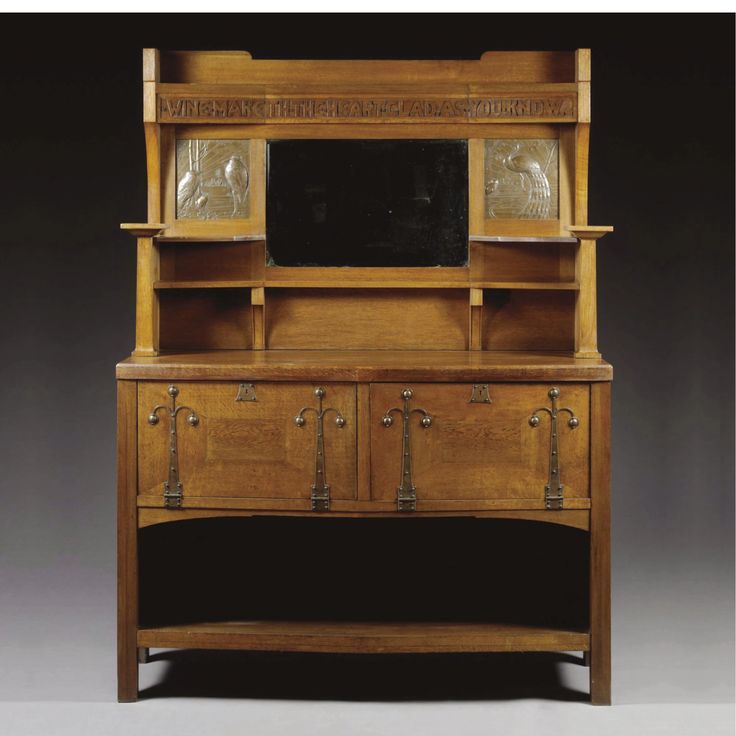
Ann has been asking for a desk for over a year, and I’ve been designing it in my head for about that long too. A while back I had her sit down with me on pinterest to see what types of images she tended to like. See below for some of what she picked, but the TLDR version is a mix of Frank Lloyd Wright, and Arts and Crafts style. I love both, but both are really challenging… Curvy inlays??? I’m sure I can figure that out, but this may end up being her wedding gift because it’s going to take me that long to figure it out.
She also chose a really interesting mix of wood. She liked the combo of the polka-dots of the Leopard wood, and the lighter colored Ash.
This weekend I finally got started on it. Most of the rough milling is done, but I didn’t estimate correctly for the inner parts of the desk and panels, so I’m going to need to get more wood.
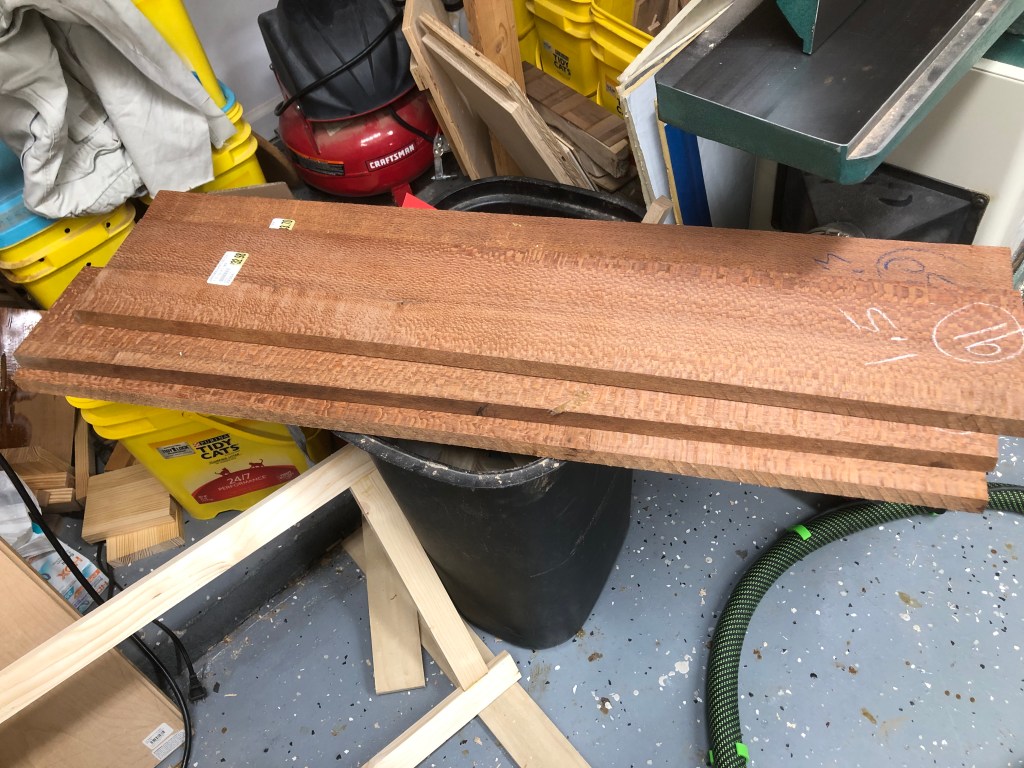
leopard woodThis will be the top of the desk (eventually)
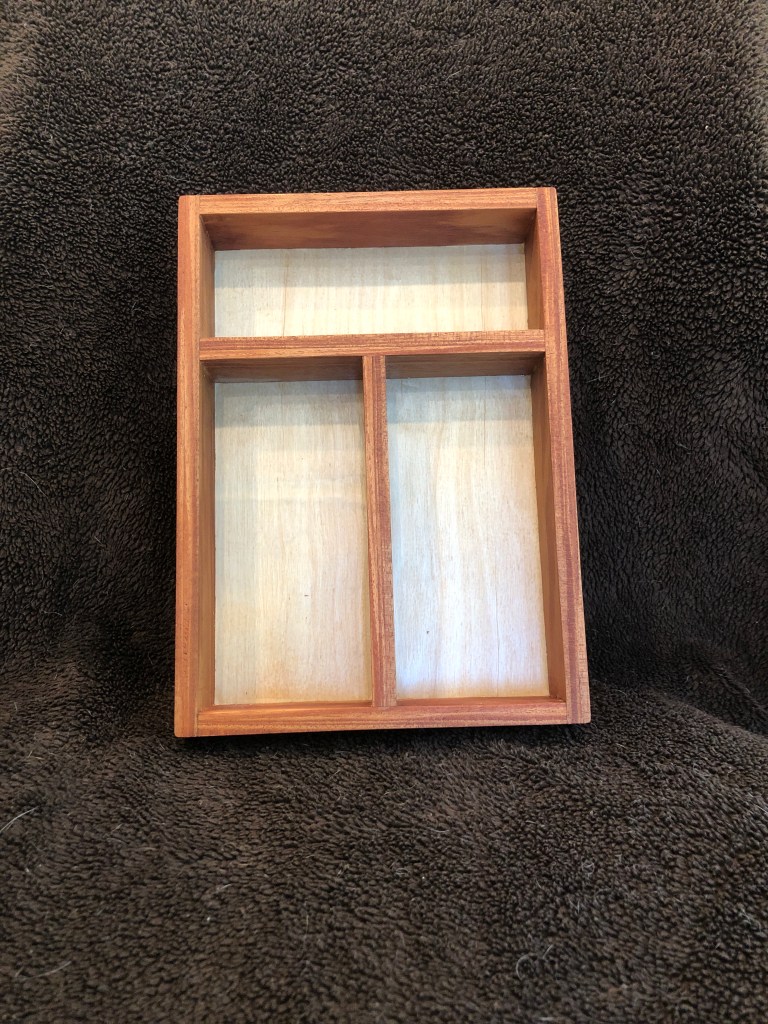
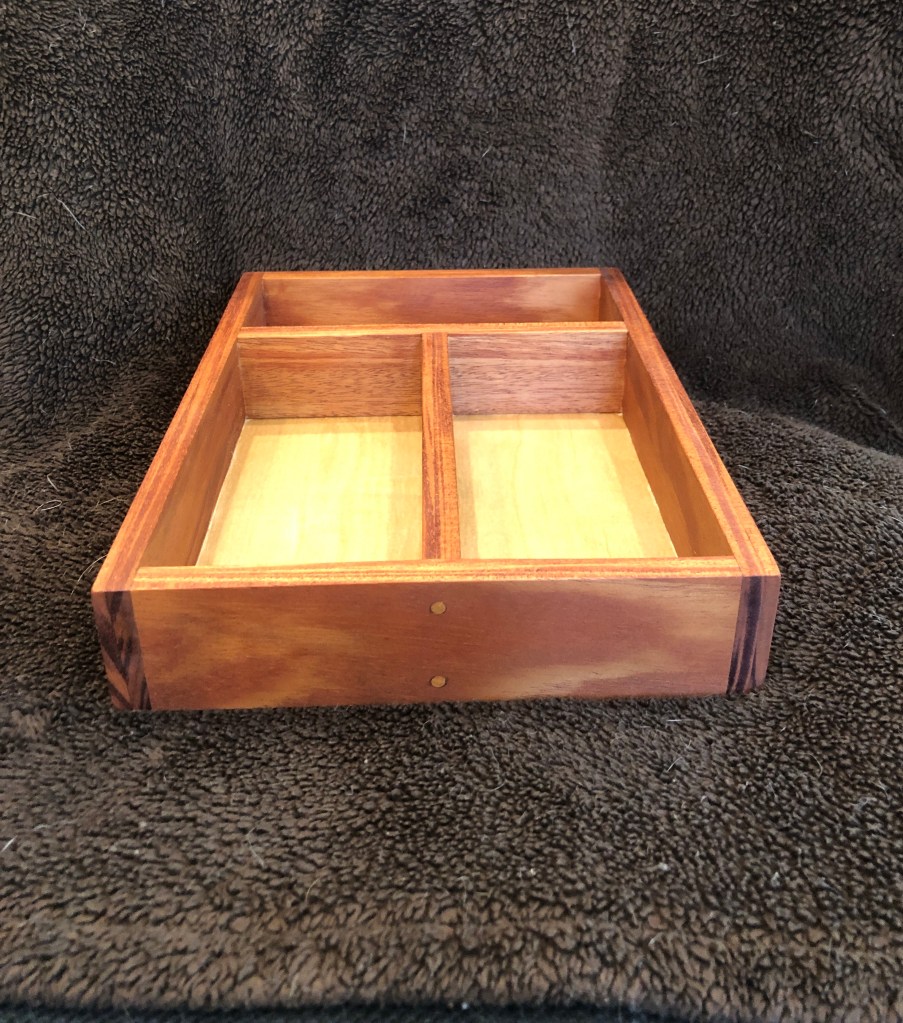
This weekend I worked really hard (at avoiding cutting the grass.) Lynn had a little cardboard organizer that was falling apart that she had asked I replace, so with open space in my worklist, I figured why not bang it out. How hard could it be?
Oh ye who tempts fate…. I don’t know what wood this was but when I resawed it to thickness it bowed like crazy. Over 1/4″ over 16″ and at that thickness if I’d sanded it out there wouldn’t have been anything left of the wood. So we had to glue and re-mill the wood.
I made Lynn help alot, she ran the wood over the jointer, and cut the dowels for the corners along with putting the finish on.
As she did that I grabbed some scraps and decided to practice some joinery. The Korean Swallow-beak joint has captivated me for a few years. See it done by an expert here: https://youtu.be/FRuQNMf6-F0?si=VkgQsB1wEXx68NFx
I shot my shot today on two practice pieces. They were far from perfect, I think I’m going to have to find a different way of making this happen. 100% hand tools was real work.
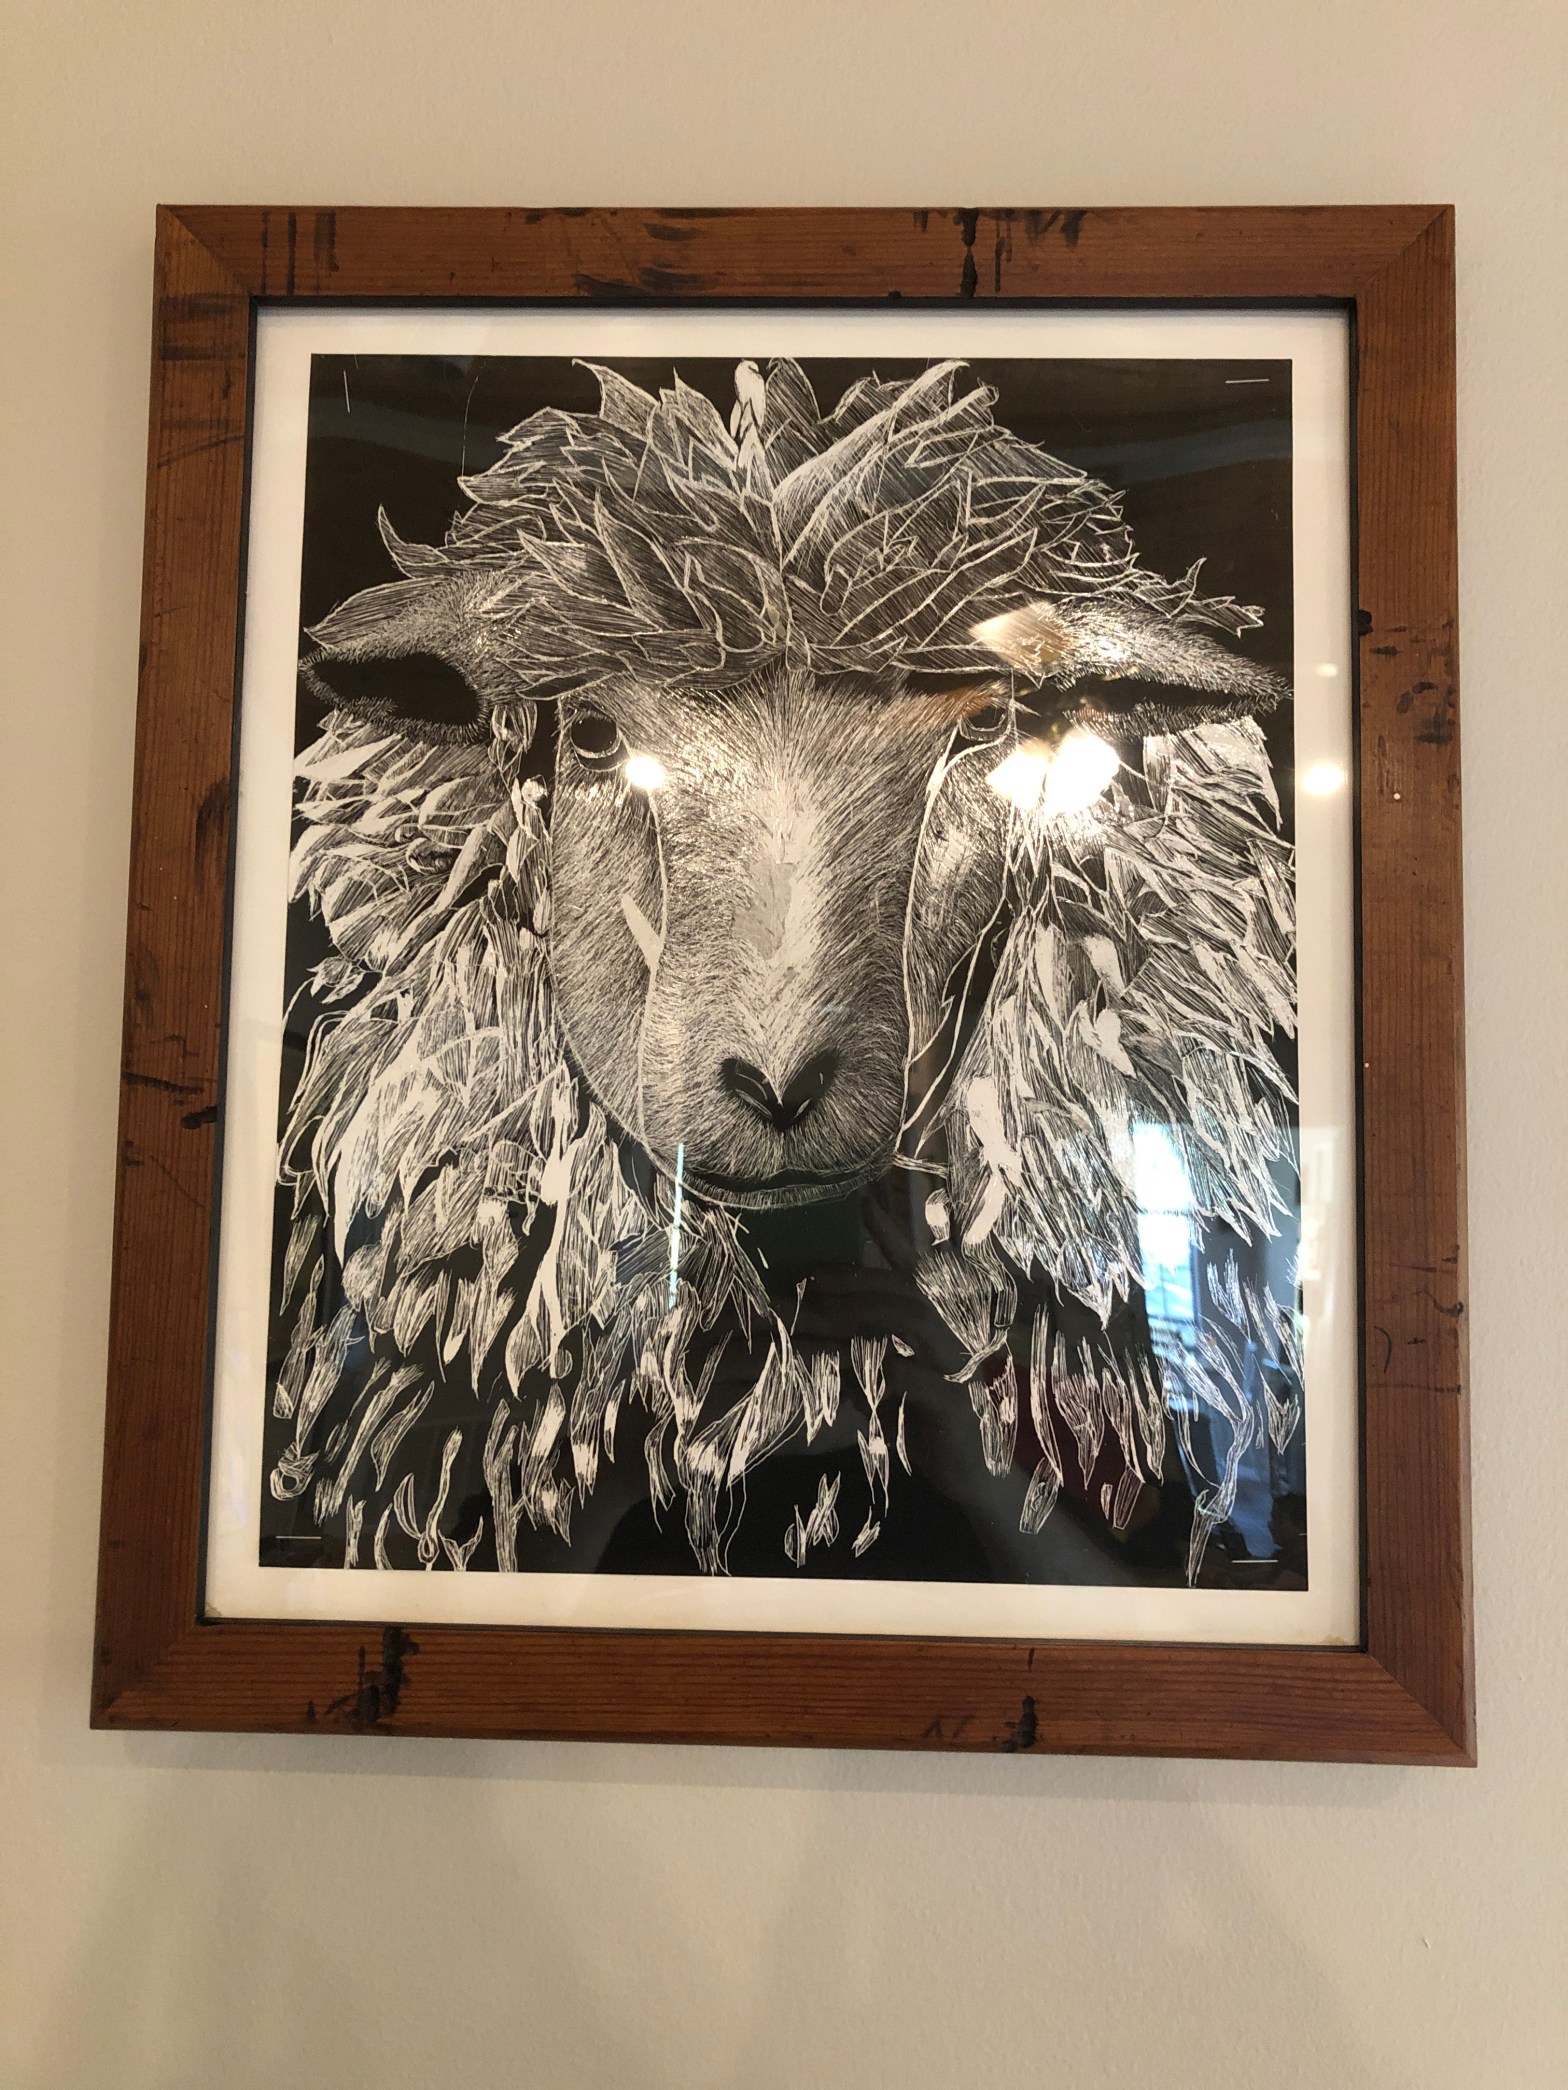
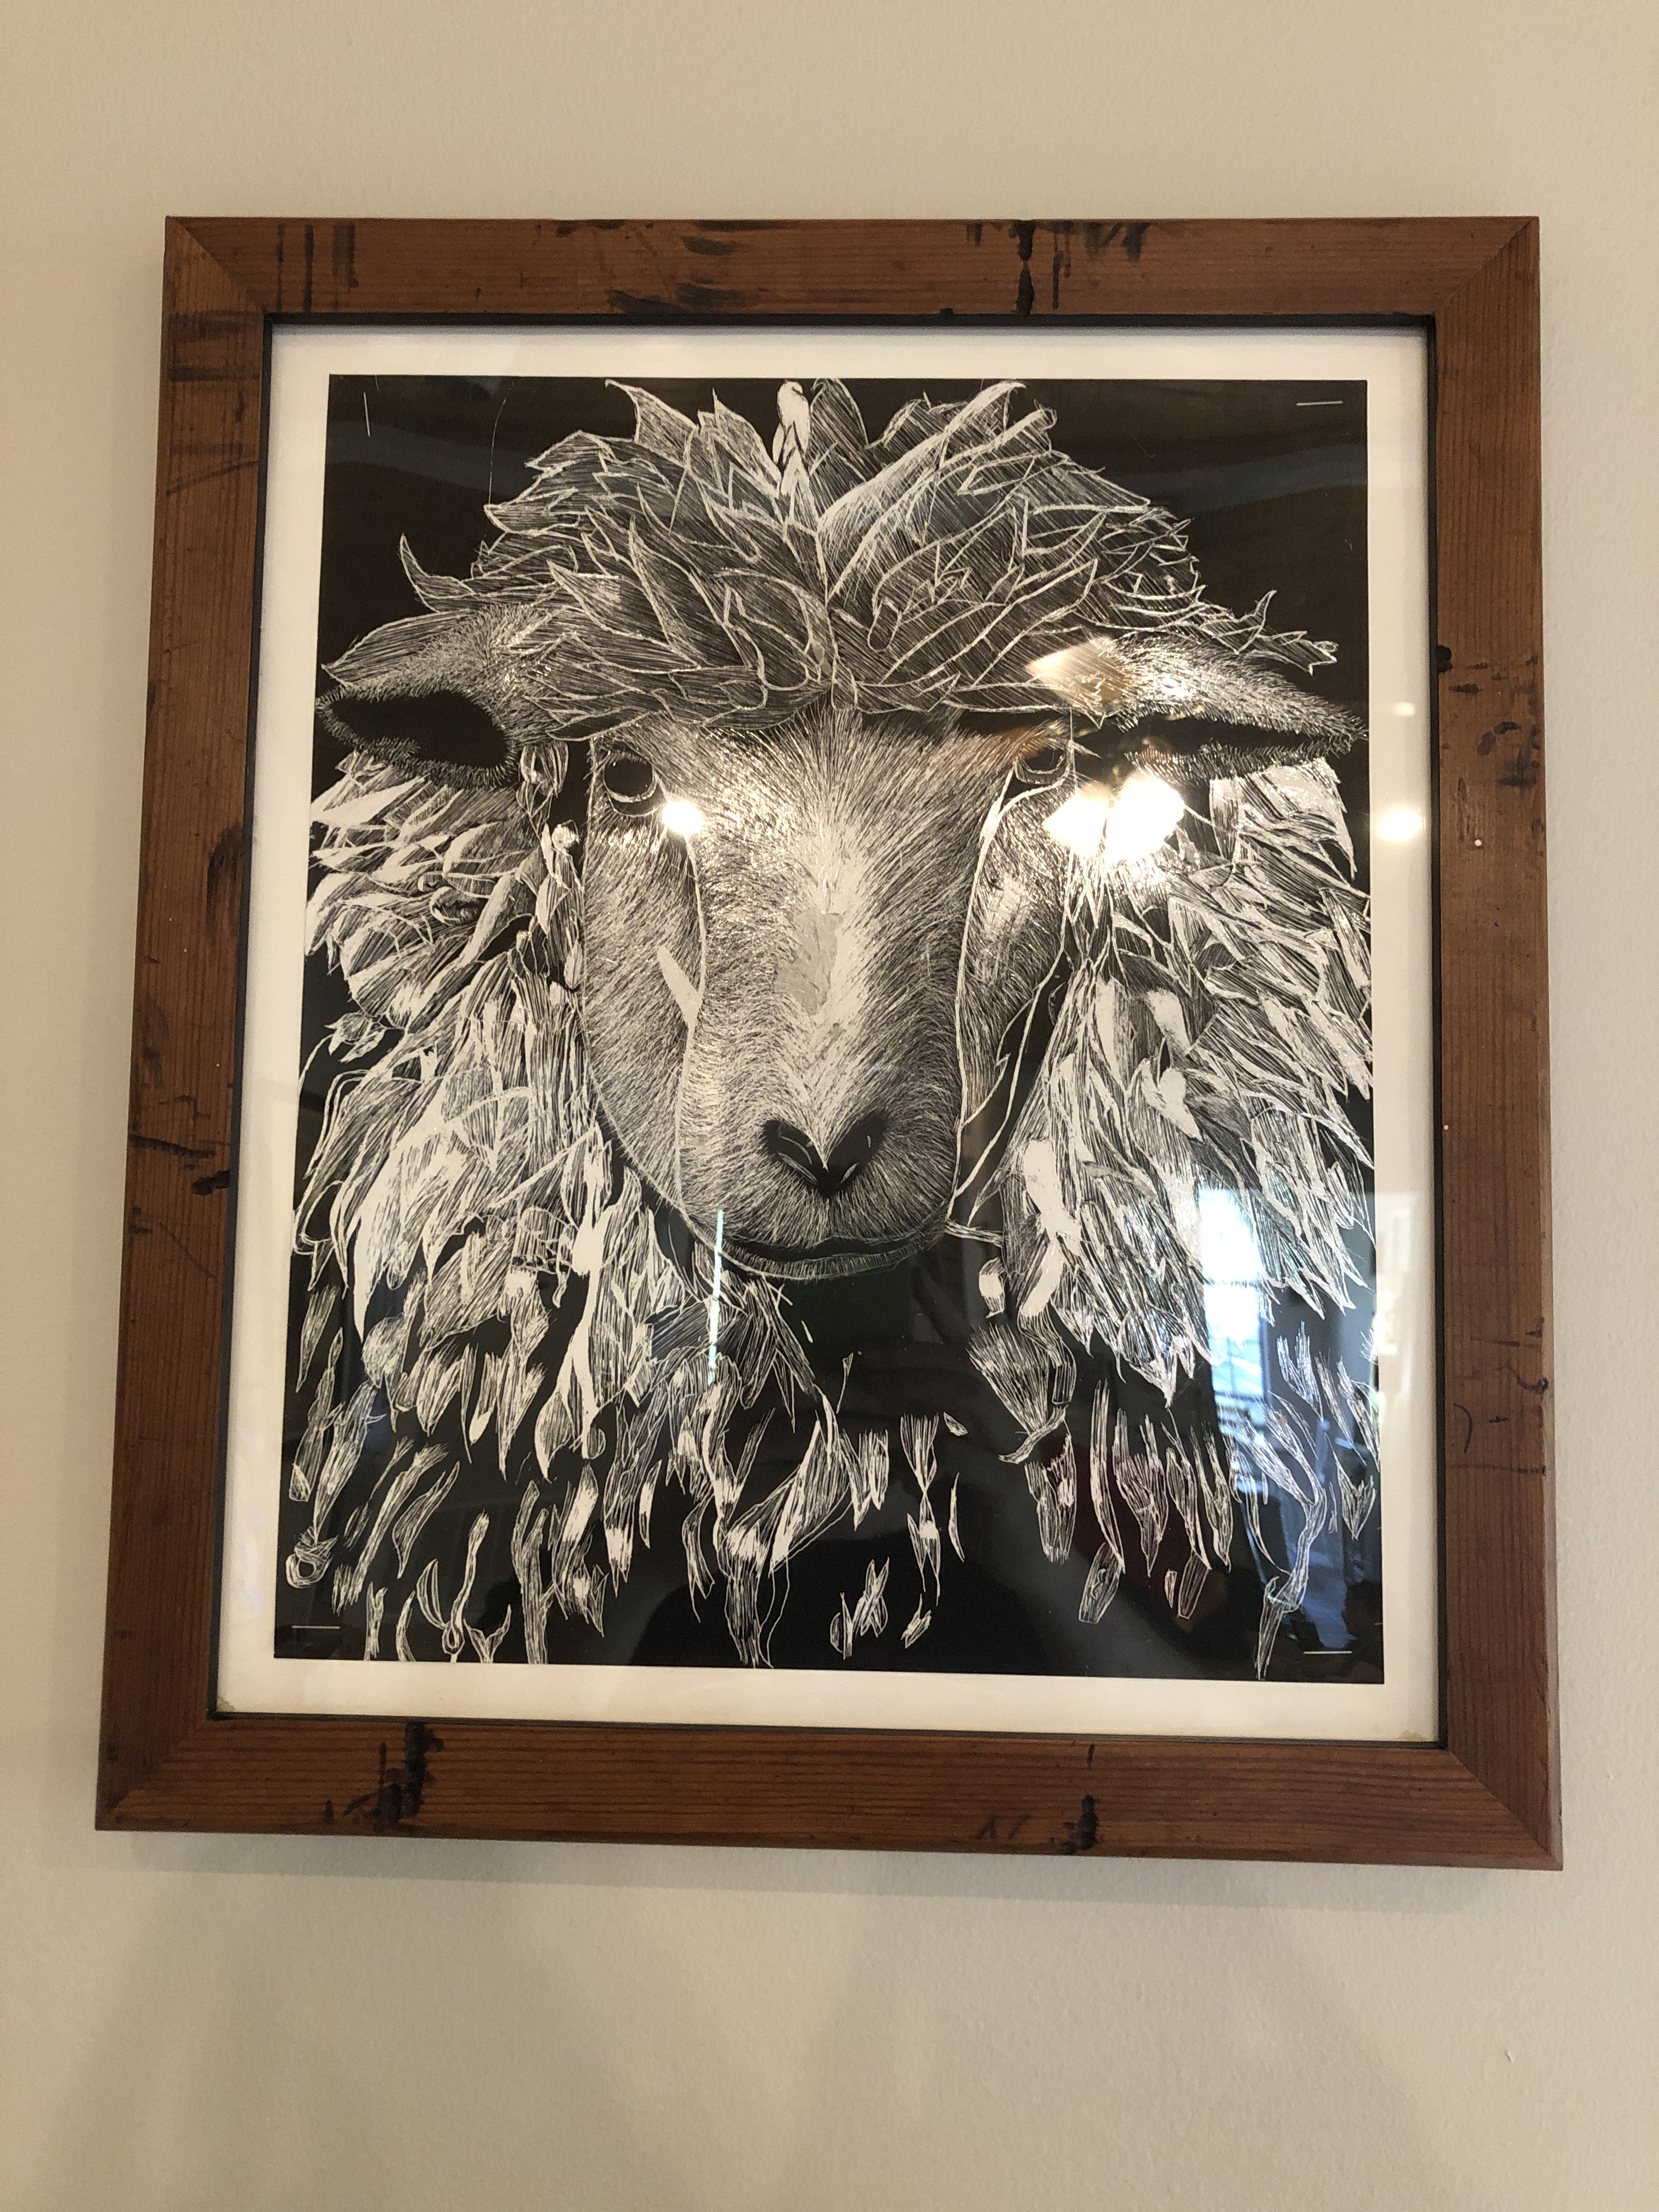
My oldest daughter did this etching of a sheep in her art class, and it turned out quite impressively. Figured it had to be hung, but we needed a frame, so I grabbed some wood that came from dad’s garage and threw this together.
The wood was likely a slat from the bed I slept in as a kid. The gouges and scratches are all from wear and tear over who knows how many years – even before I was sleeping in it. It’s pine, and the finish is Odie’s Oil – Dark.
Usually my projects are super polished and exacting. Aside from the miters, this was kept pretty rough to keep the character the wood had. I very lightly sanded it just to clean the surface up a bit. And just for looks I threw some nails in the corners.
Forgive the glare, it was impossible to get a pic without the light in the room messing up some part of it.
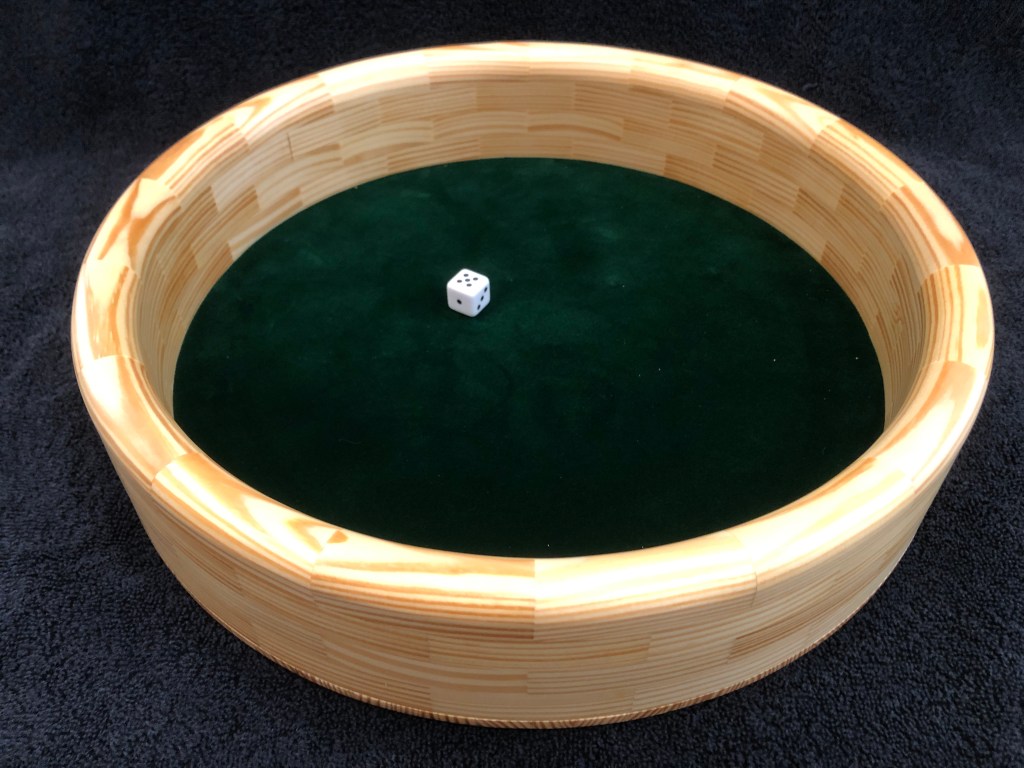
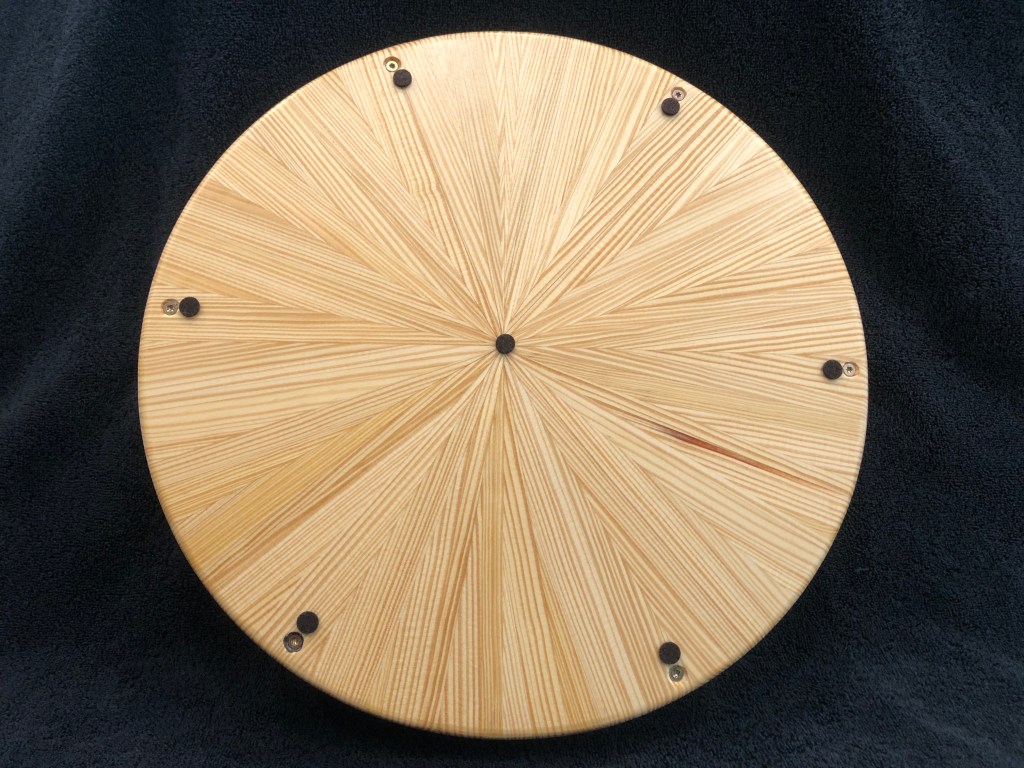
After talking with a few friends and giving my scrap pile a good hard look, I figured why not make one of these just for us. The pine was alot harder to work with – it wanted to chip out and sand much more unevenly, but I managed to wrestle it into shape. Looking forward to good times with friends. The bottom took most of a Sunday to craft, but it served as good practice for if/when I do a project where a sunburst will be more visible.
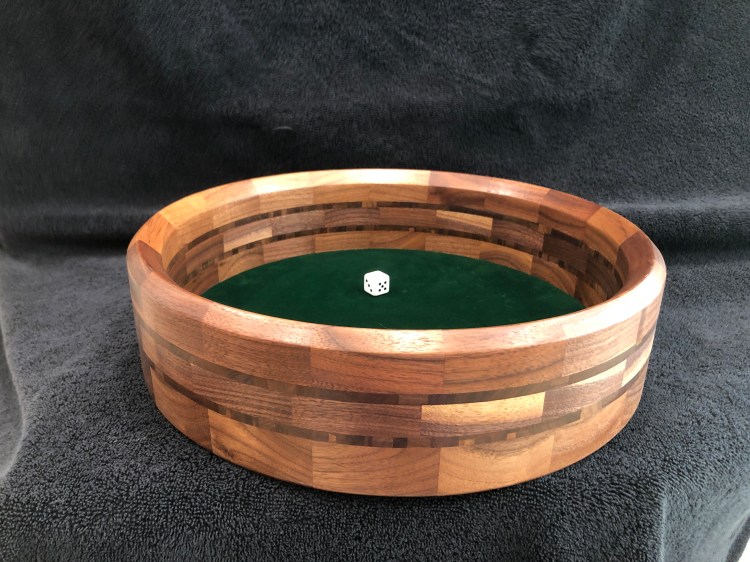
This was the first time I’ve tried to make anything significant in a round shape. A coworker traded me some MCM furniture for this little guy. He’s really big into board games, and wanted a bespoke place to throw dice that would stand out as a conversation piece too.
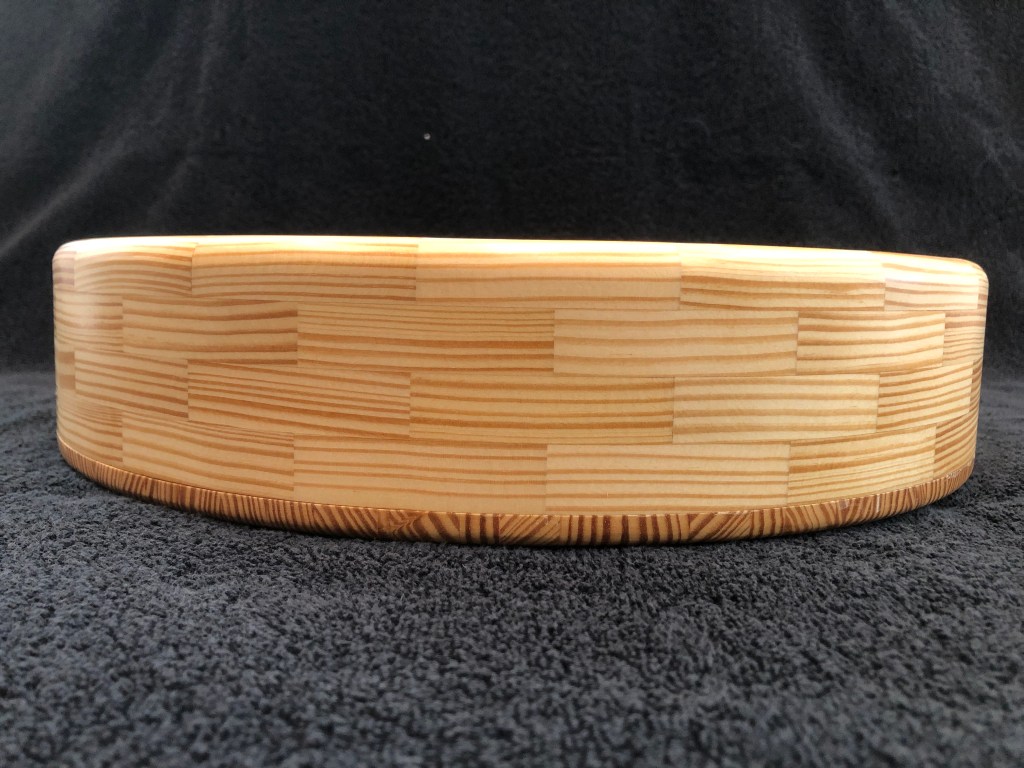
I couldn’t leave well enough alone, so I had to add some details, the darker bands you see are actually end-grain. I made those by taking the smallest of some leftover scraps and reーgluing them together into irregular arrangements and then jointing the down to a usable size and flatness. The pictures don’t do them justice but when you look close there is a mosaic effect that was created. I also added the top edge profile to mimic the edge profile on the sideboard he gave me.
This was a challenging mind bender, and my wife liked it so much she asked that I make one for our house too. We aren’t gamers, but maybe when we have get togethers we can do すべらない話 over drinks with friends.
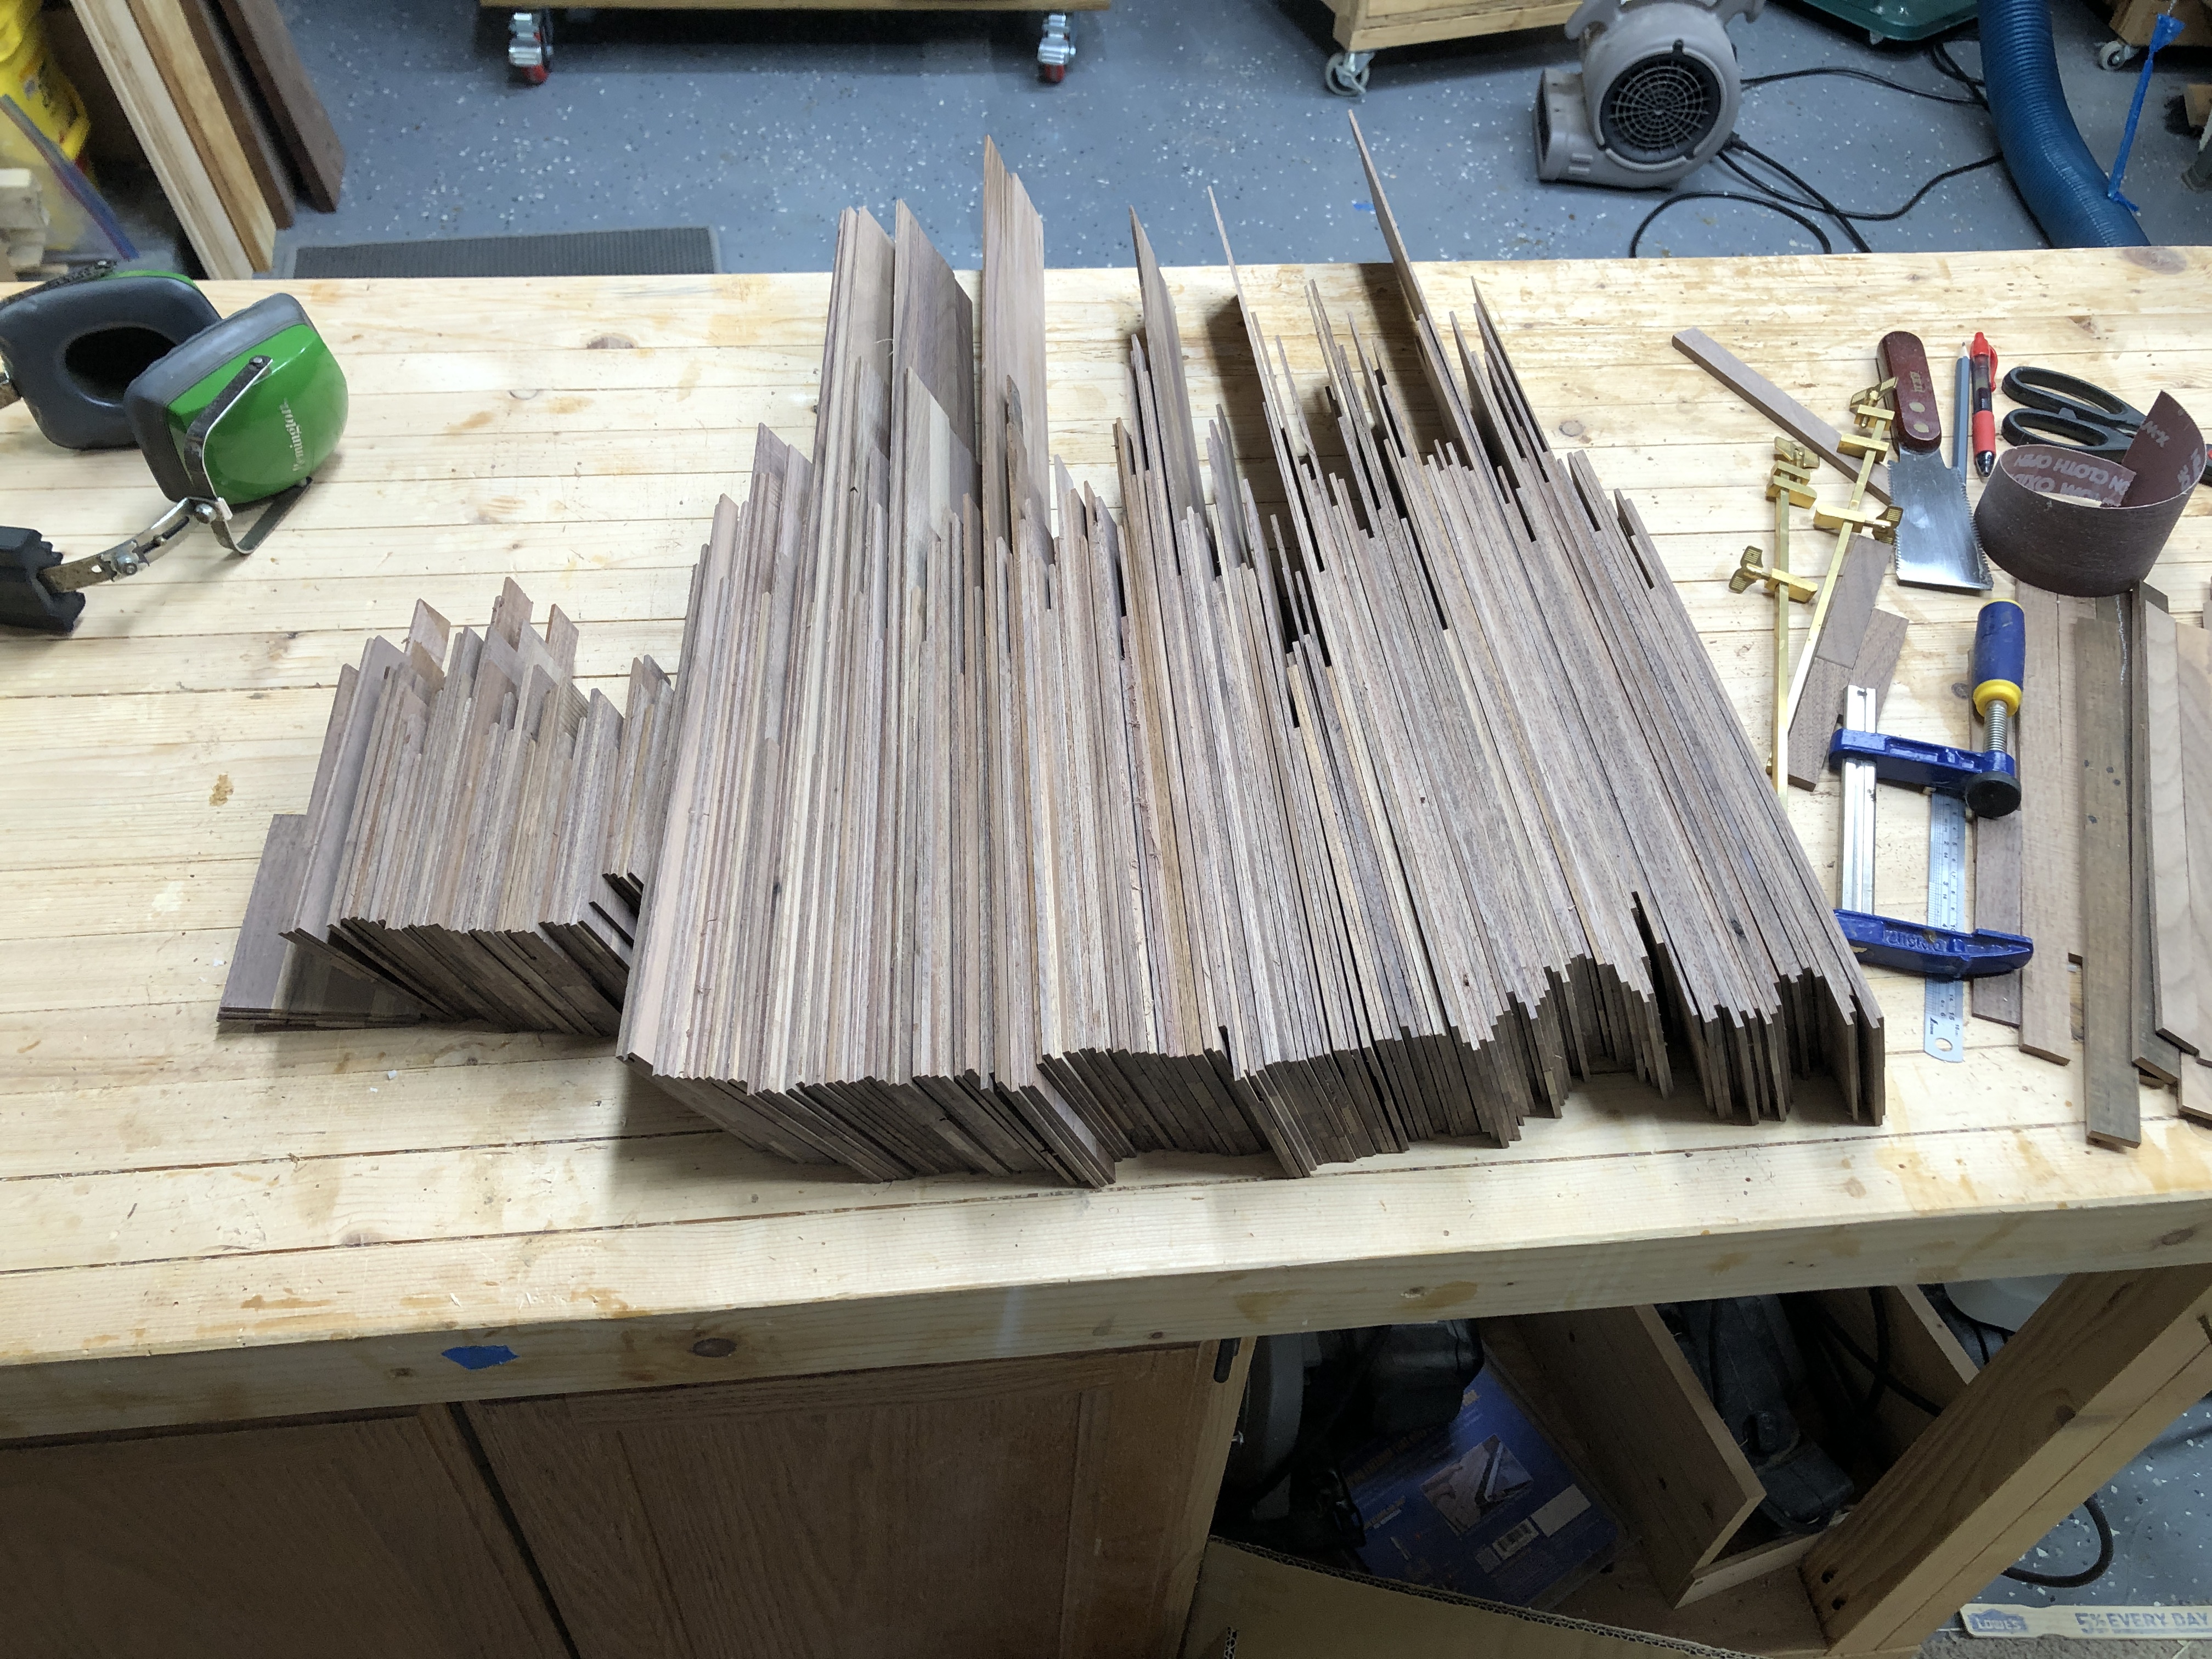
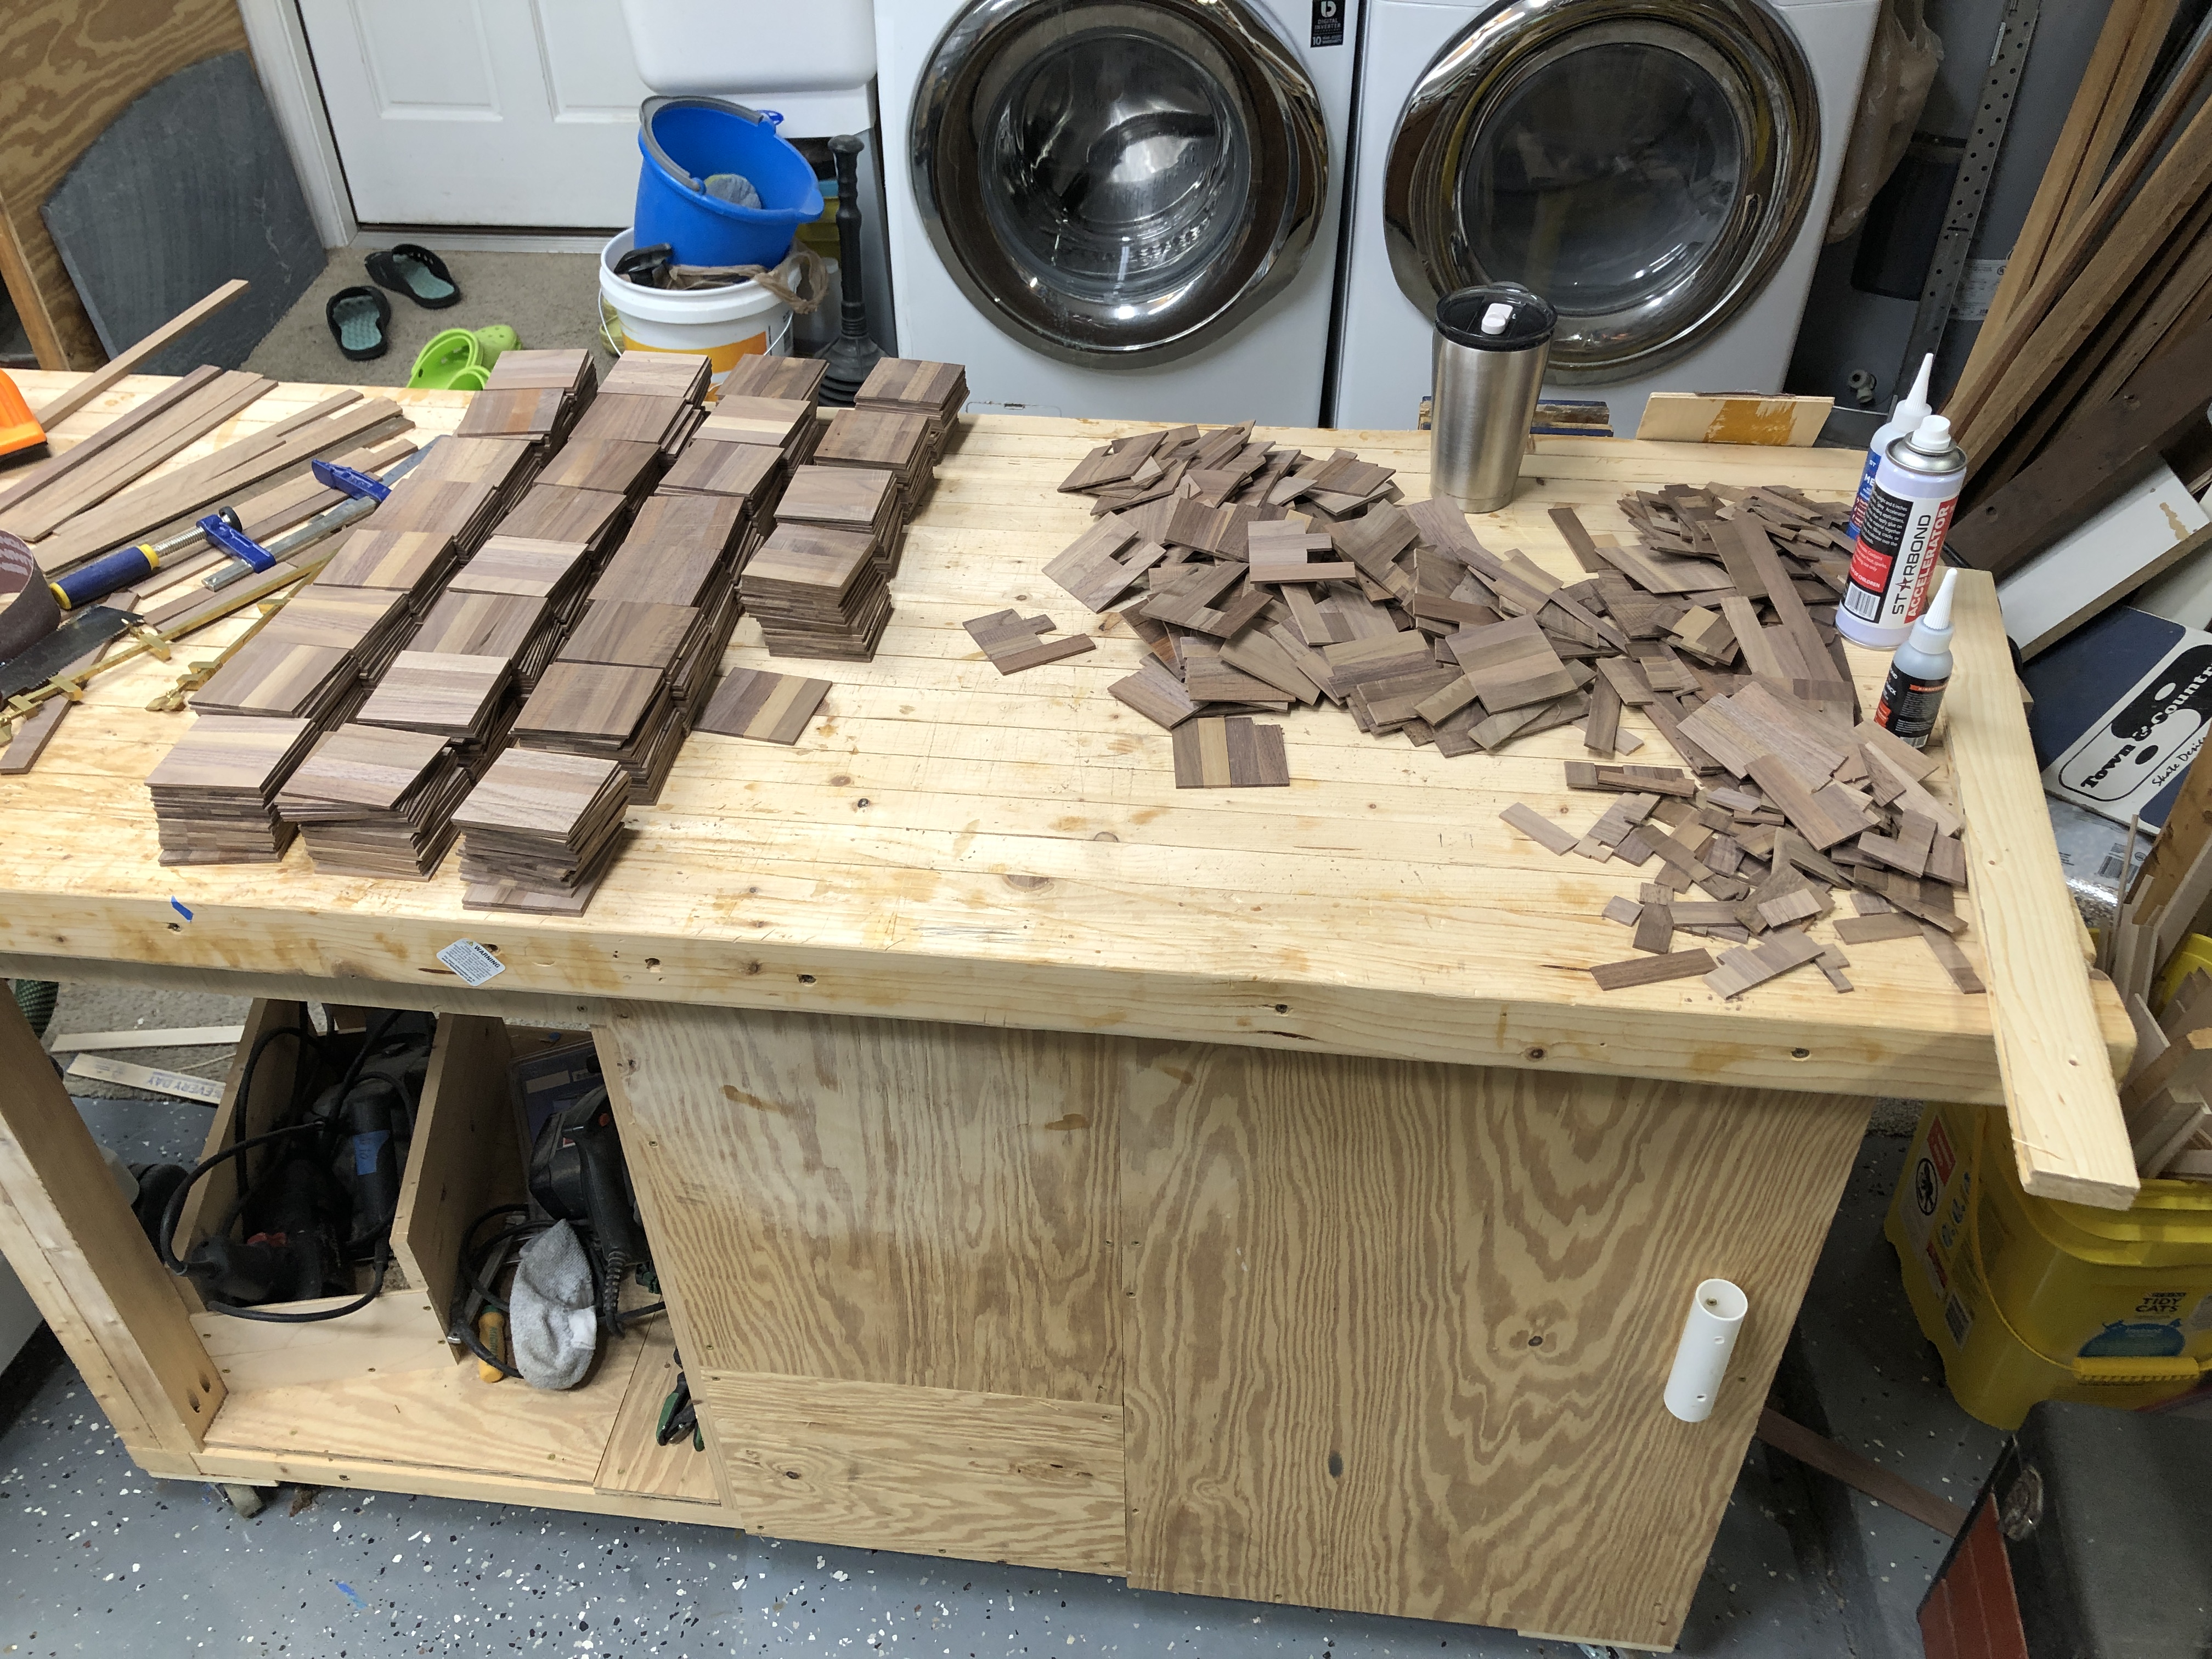
I finally got the bookcase done. It was a really challenging project to work on and there were many new skills I got to take a swing at trying out. Just a quick list – shop-sawn veneers for the shelves, stopped dados for the shelves going into the sides, 3 way miters for the top corners, and a few others that aren’t worth listing. Go over to finished projects to check it out, but for now here are a few in-process pics to show you how it got done. In case you’re curious, I made 560 squares, there were some leftovers and a few blanks to make another 100 or so just in case I ran out.
I started this Walnut bookcase back in October and have been slowly plugging away at it on the weekends ever since. I’ve been thinking about how to make it for about a year and it took that long for a few reasons. First – I thought long and hard about using solid wood or a plywood core. I was worried about potential issues with wood movement, so I eventually ruled out solid wood. Also I had alot of projects ahead of this, so I just could begin something of this size because I don’t have the space in the garage to have multiple big projects going on at the same time.
What you are seeing here is the process of making the shop-sawn veneers and squares for the sides and the shelves.
The summer was a rough for woodworking. The temps in the garage door open or not were often close to 100 degrees. I had a commission I began working on back in May and didn’t finish until November. Some of it was just not having the time, some of it was the challenge of the project, but some of it was definitely the unbearable heat.
I was able to get a split unit AC installed, so that solved for the heat issue and it has been heavenly! We’ll see how the heat works later this year.
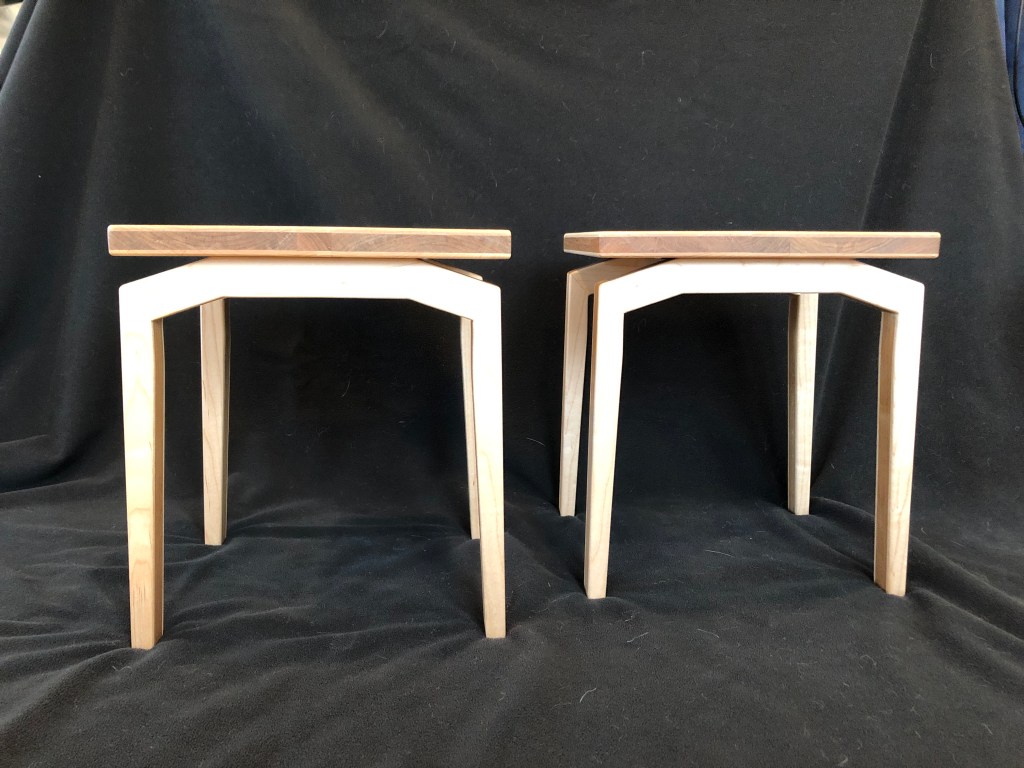
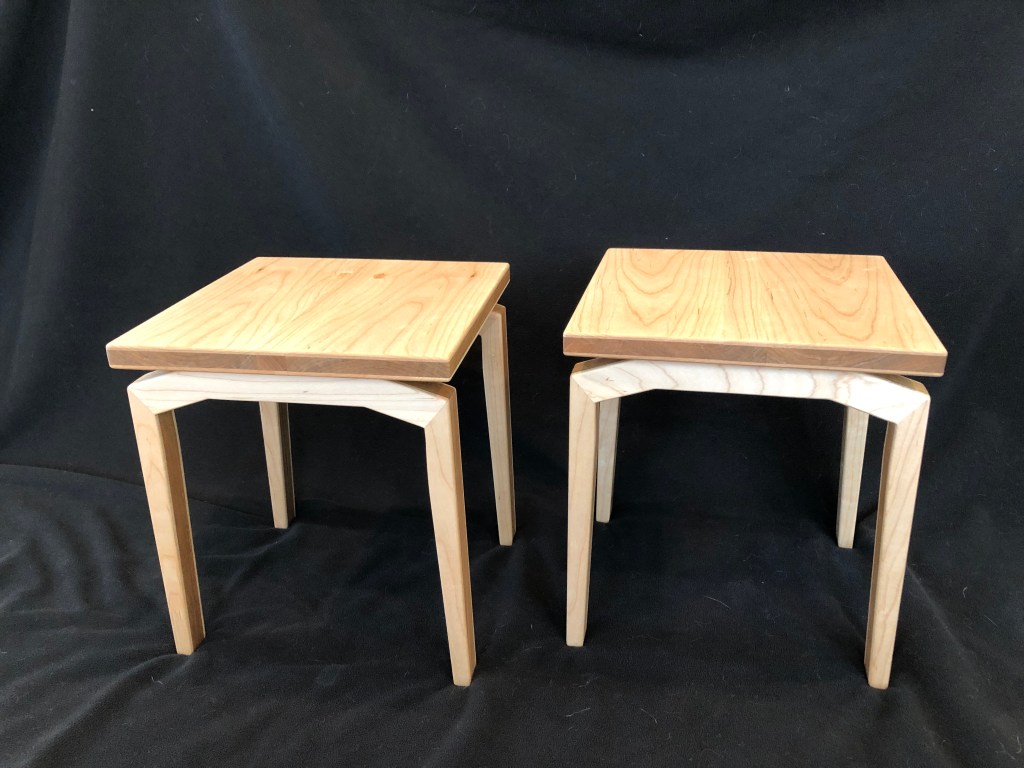
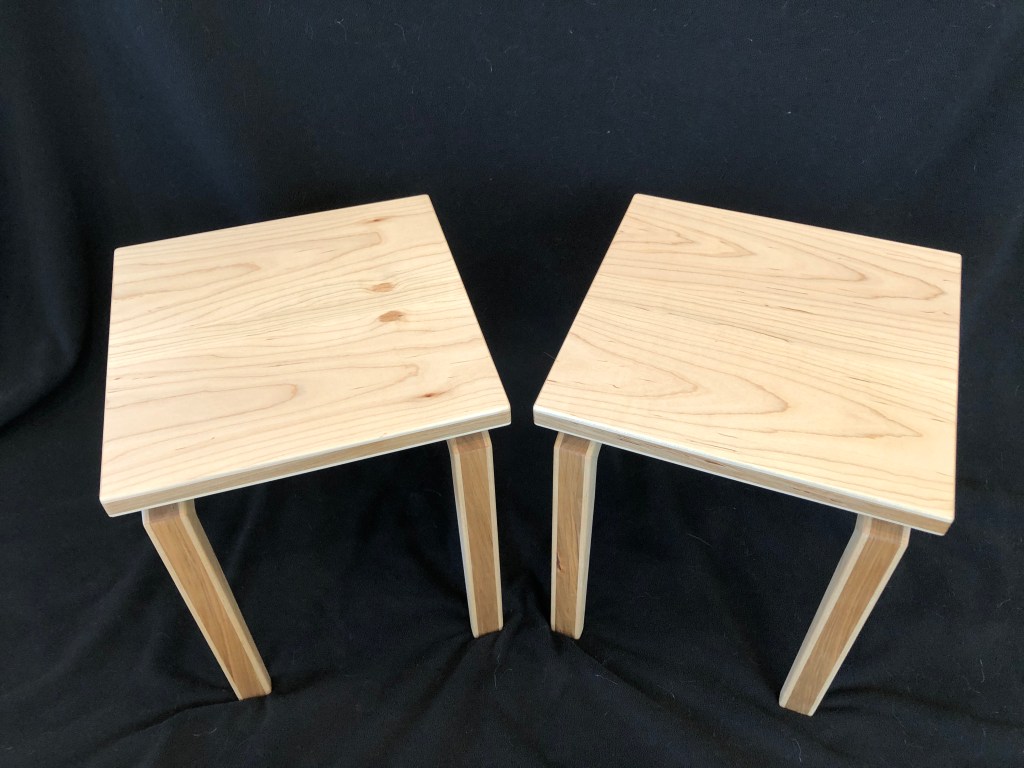
On to the projects – the one that took so long was a set of dog feeder stands. I used some maple that came out of dad’s garage along with some of the leftover scraps from the Michigan cutting board.
I had to remake several pieces of it due to issues. First – the tops kept potato-chipping up on me, and I didn’t have enough wood to remake them. Luckily I had milled up some extra pieces of the darker wood just in case I had an issue. Unluckily I didn’t really have any extra scraps of the lighter wood, so I had to very carefully sneak up on the exact sizing, and even then the glue lines didn’t match up perfectly due to the slight cupping. If it were one piece of solid wood, this would have been easy to fix, but with the top and bottom layers needing to stay exactly the same… I couldn’t just plane off the imperfections.
Second I messed up on the legs, so I spent a weekend remaking a piece only to decide to go ahead and cut off the excess and live with a more narrow look. The same thing happened with the legs. I’ll have to try to make angled legs again for more practice.
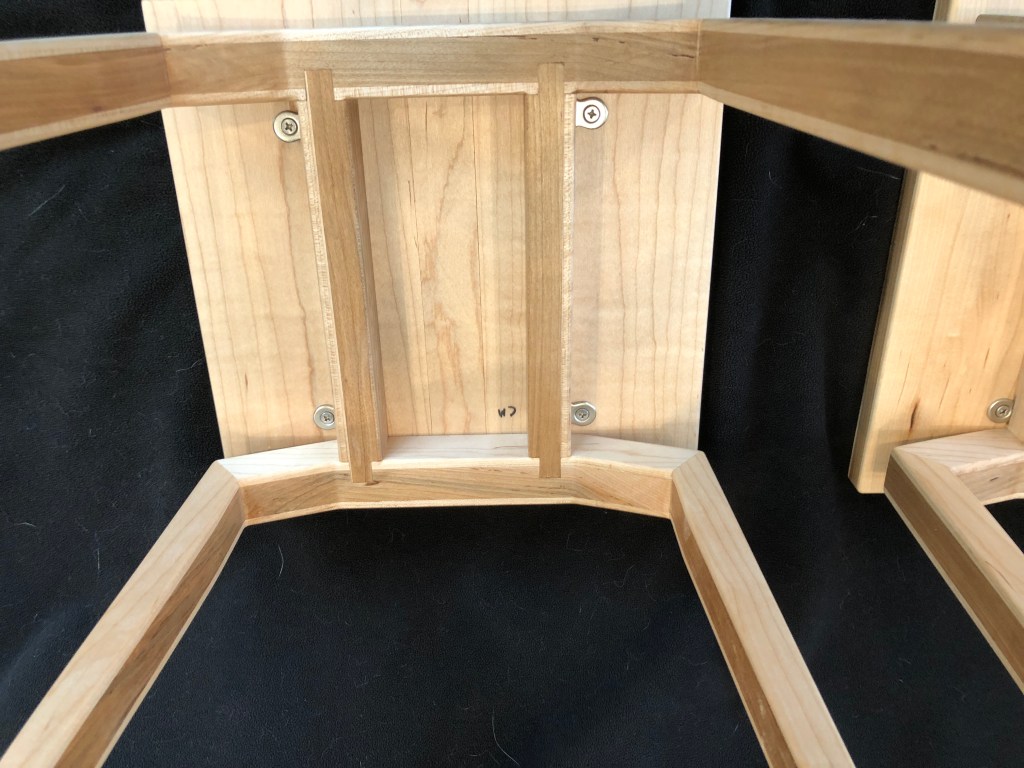
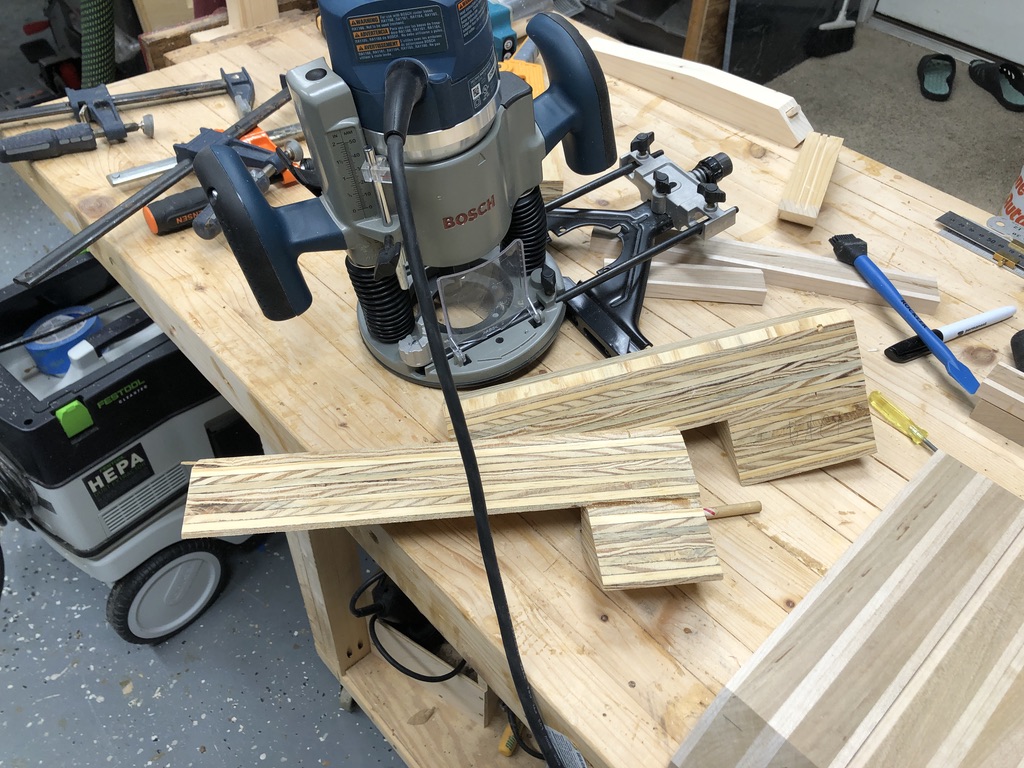
Cutting the lap joints in the legs for the front and back connectors was a challenge too. Ideally I would have thought that through further BEFORE I template routed out the angles. I had to clamp them together and use supporting blocks to hover the angle off my saw fence. It worked out in the end, but due to the inexact cutting, I had to spend alot of time with a hammer and chisel to get them to fit right.
Here are some pics that show a bit of the process. The floating tenons without using a domino were an adventure for sure. I even had someone offer to let me use theirs.
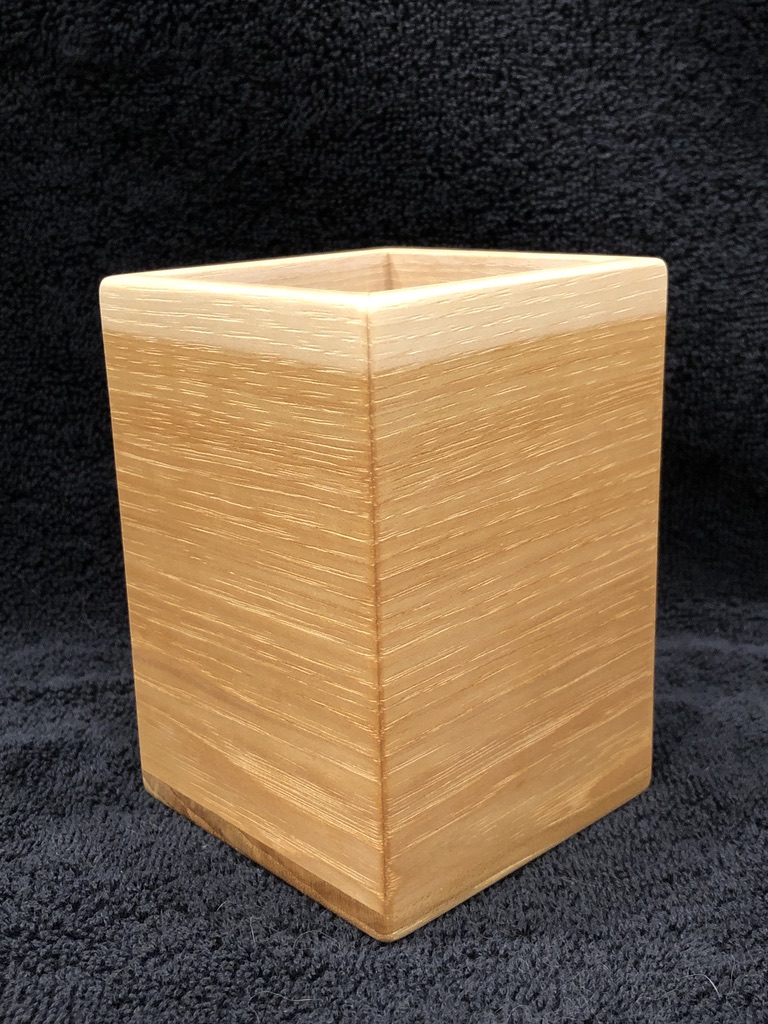
Due to the challenge and mental gymnastics I went through to make these, I took a break to make some pencil holders for the same school I sold the easels to. Only this time it was a donation. It also gave me a way to get some of the leftover wood out of the garage.